
How to Setup an Email with Your Domain for Free
Set up a professional domain email address for your store using Cloudflare Email Routing and Gmail.
In this post we will go through the steps to setup an email with your domain (you@yourdomain.com) for free using Cloudflare. This is a great way to make your business look more professional and trustworthy.
But before we do that - if you are in need of products for your e-commerce store, we can help! We help automate syncing between your store and AliExpress. You copy paste a product link from AliExpress and we will automatically import the product, sync inventory, orders, fulfillment, and tracking numbers. This is a great way to get started with your store and save time.
Step 1: Create a Cloudflare Account
Go to Cloudflare and sign up for a free account. If you already have an account, simply log in. If you don't know know what Cloudflare is, it is a service that helps protect and speed up your website. It's a publicly traded company and is used by millions of websites around the world. It is a very reputable company and is safe to use.
Step 2: Add Your Domain to Cloudflare
You will need to add your domain to Cloudflare. Navigate to domain on the left sidebar, hit Add Domain and enter your domain. It will prompt you to select a plan, CHOOSE THE FREE PLAN. You will then be prompted to change your nameservers to Cloudflare's nameservers. Navigate to where you bought the domain, and change the nameservers to the ones provided by Cloudflare. For a service like Namecheap, you can find this once your click "Manage" on your domain.
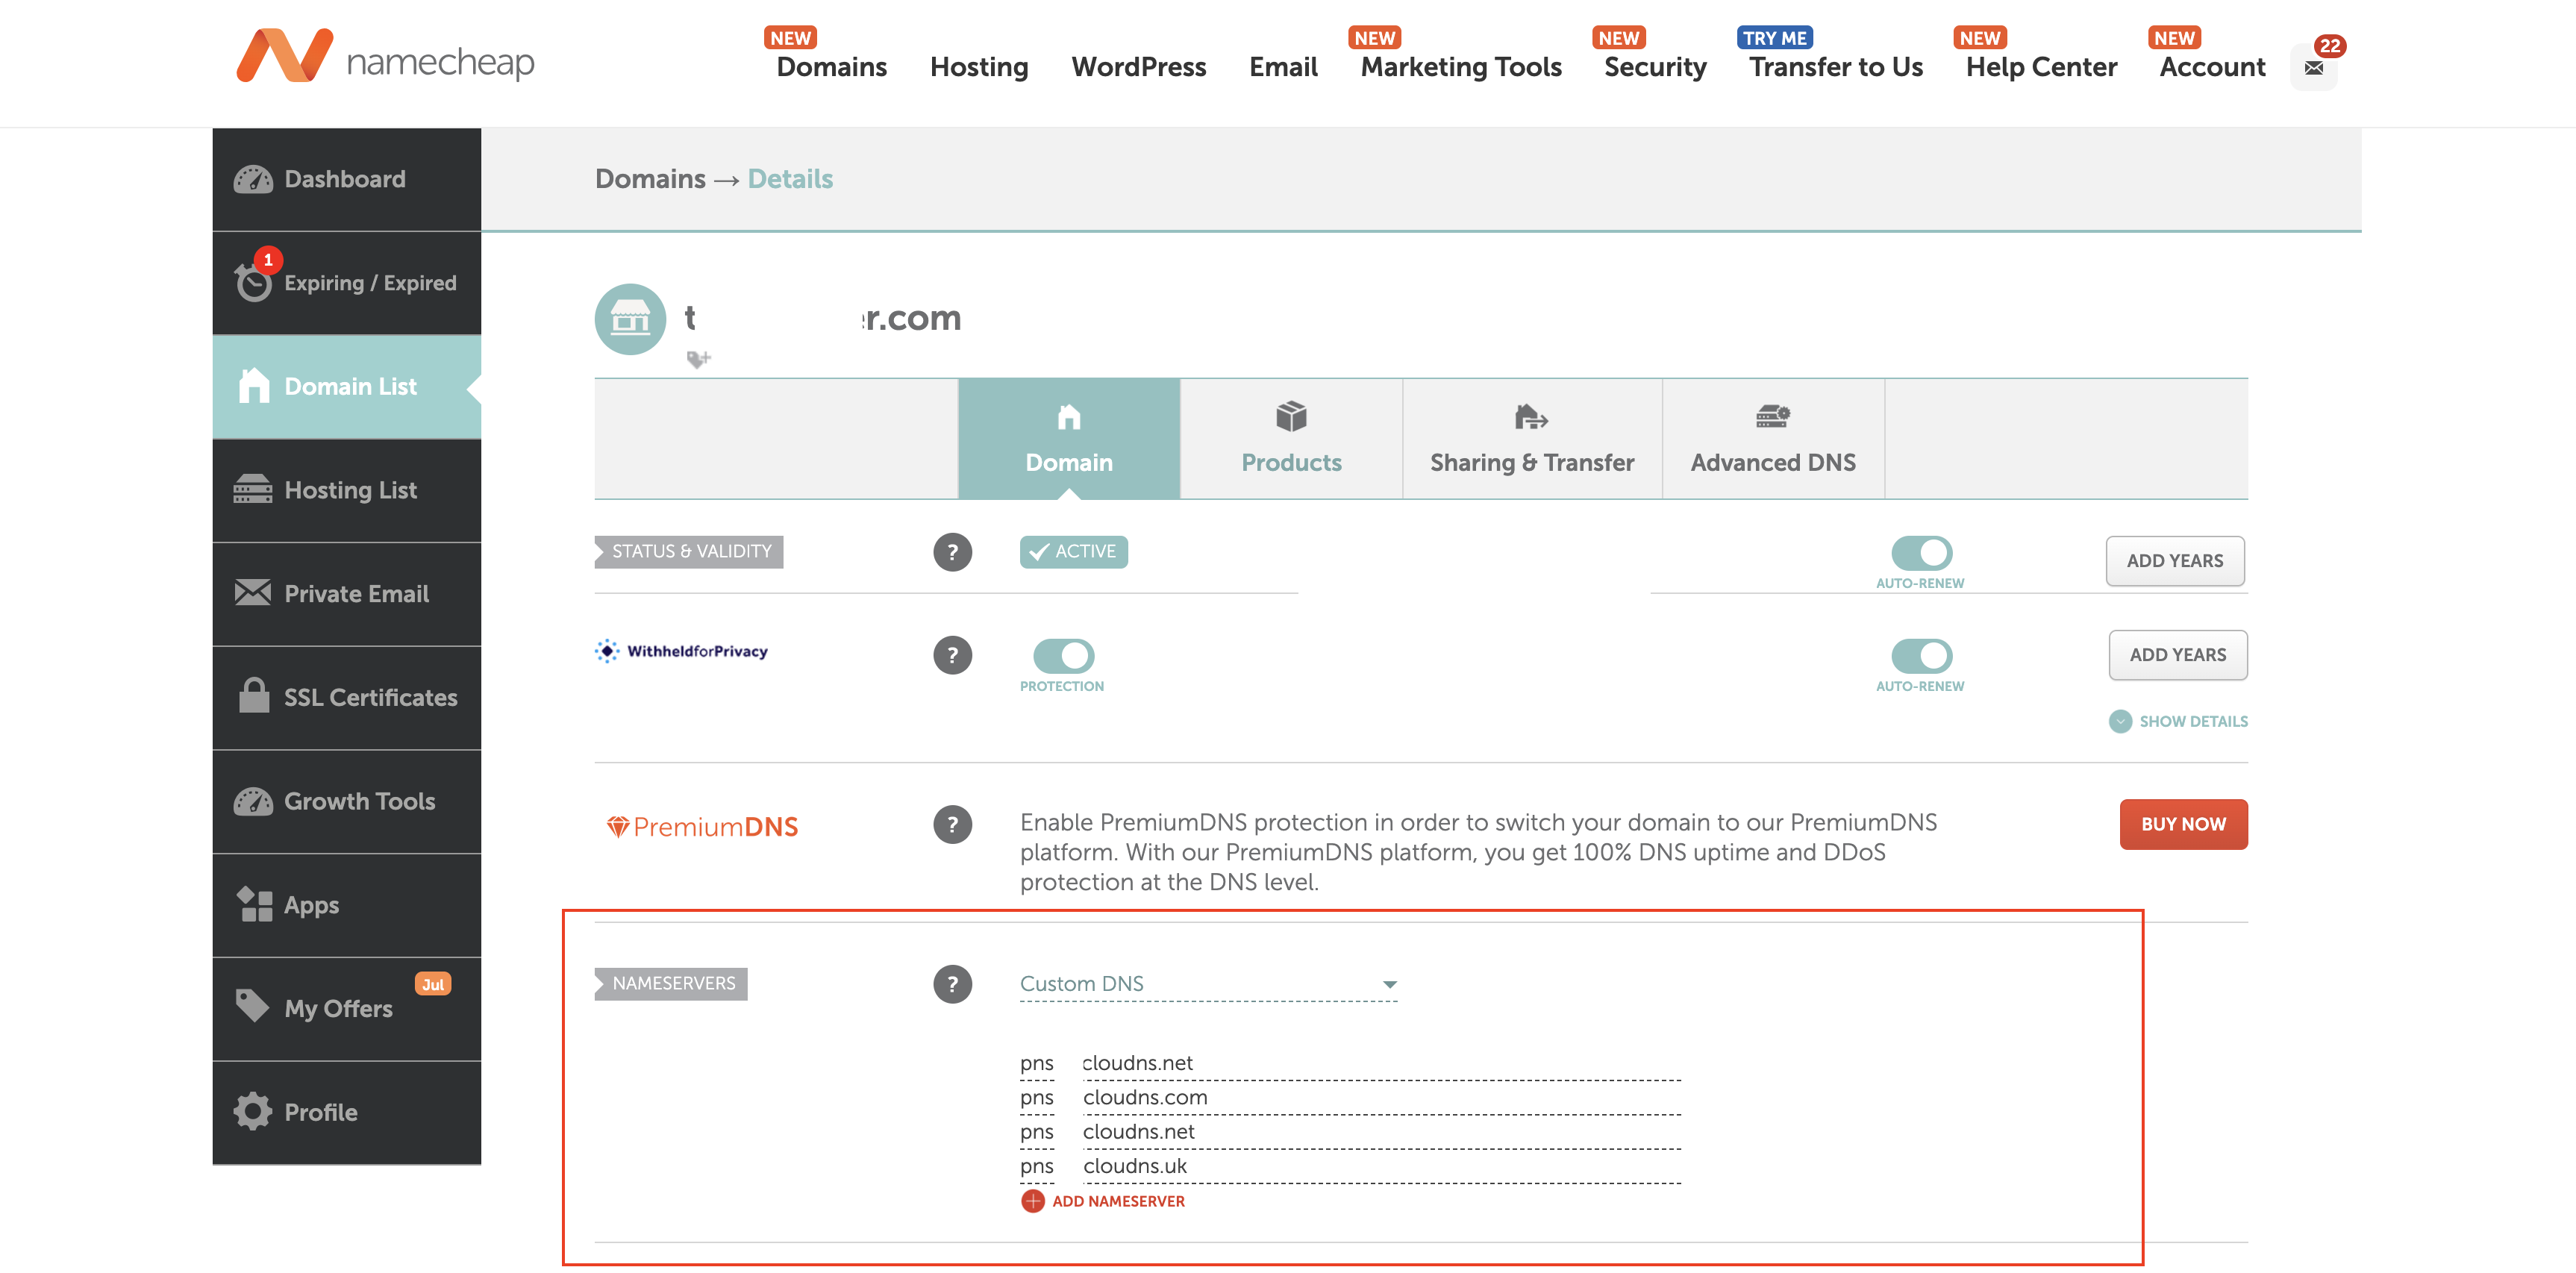
It may take a few hours for the nameserver changes to propagate, but once they do, you will be able to setup your email.
On your domain, delete any MX records that are already there. You will need to add the MX records provided by Cloudflare. Navigate to the DNS tab on your domain and delete any MX records that are already there.
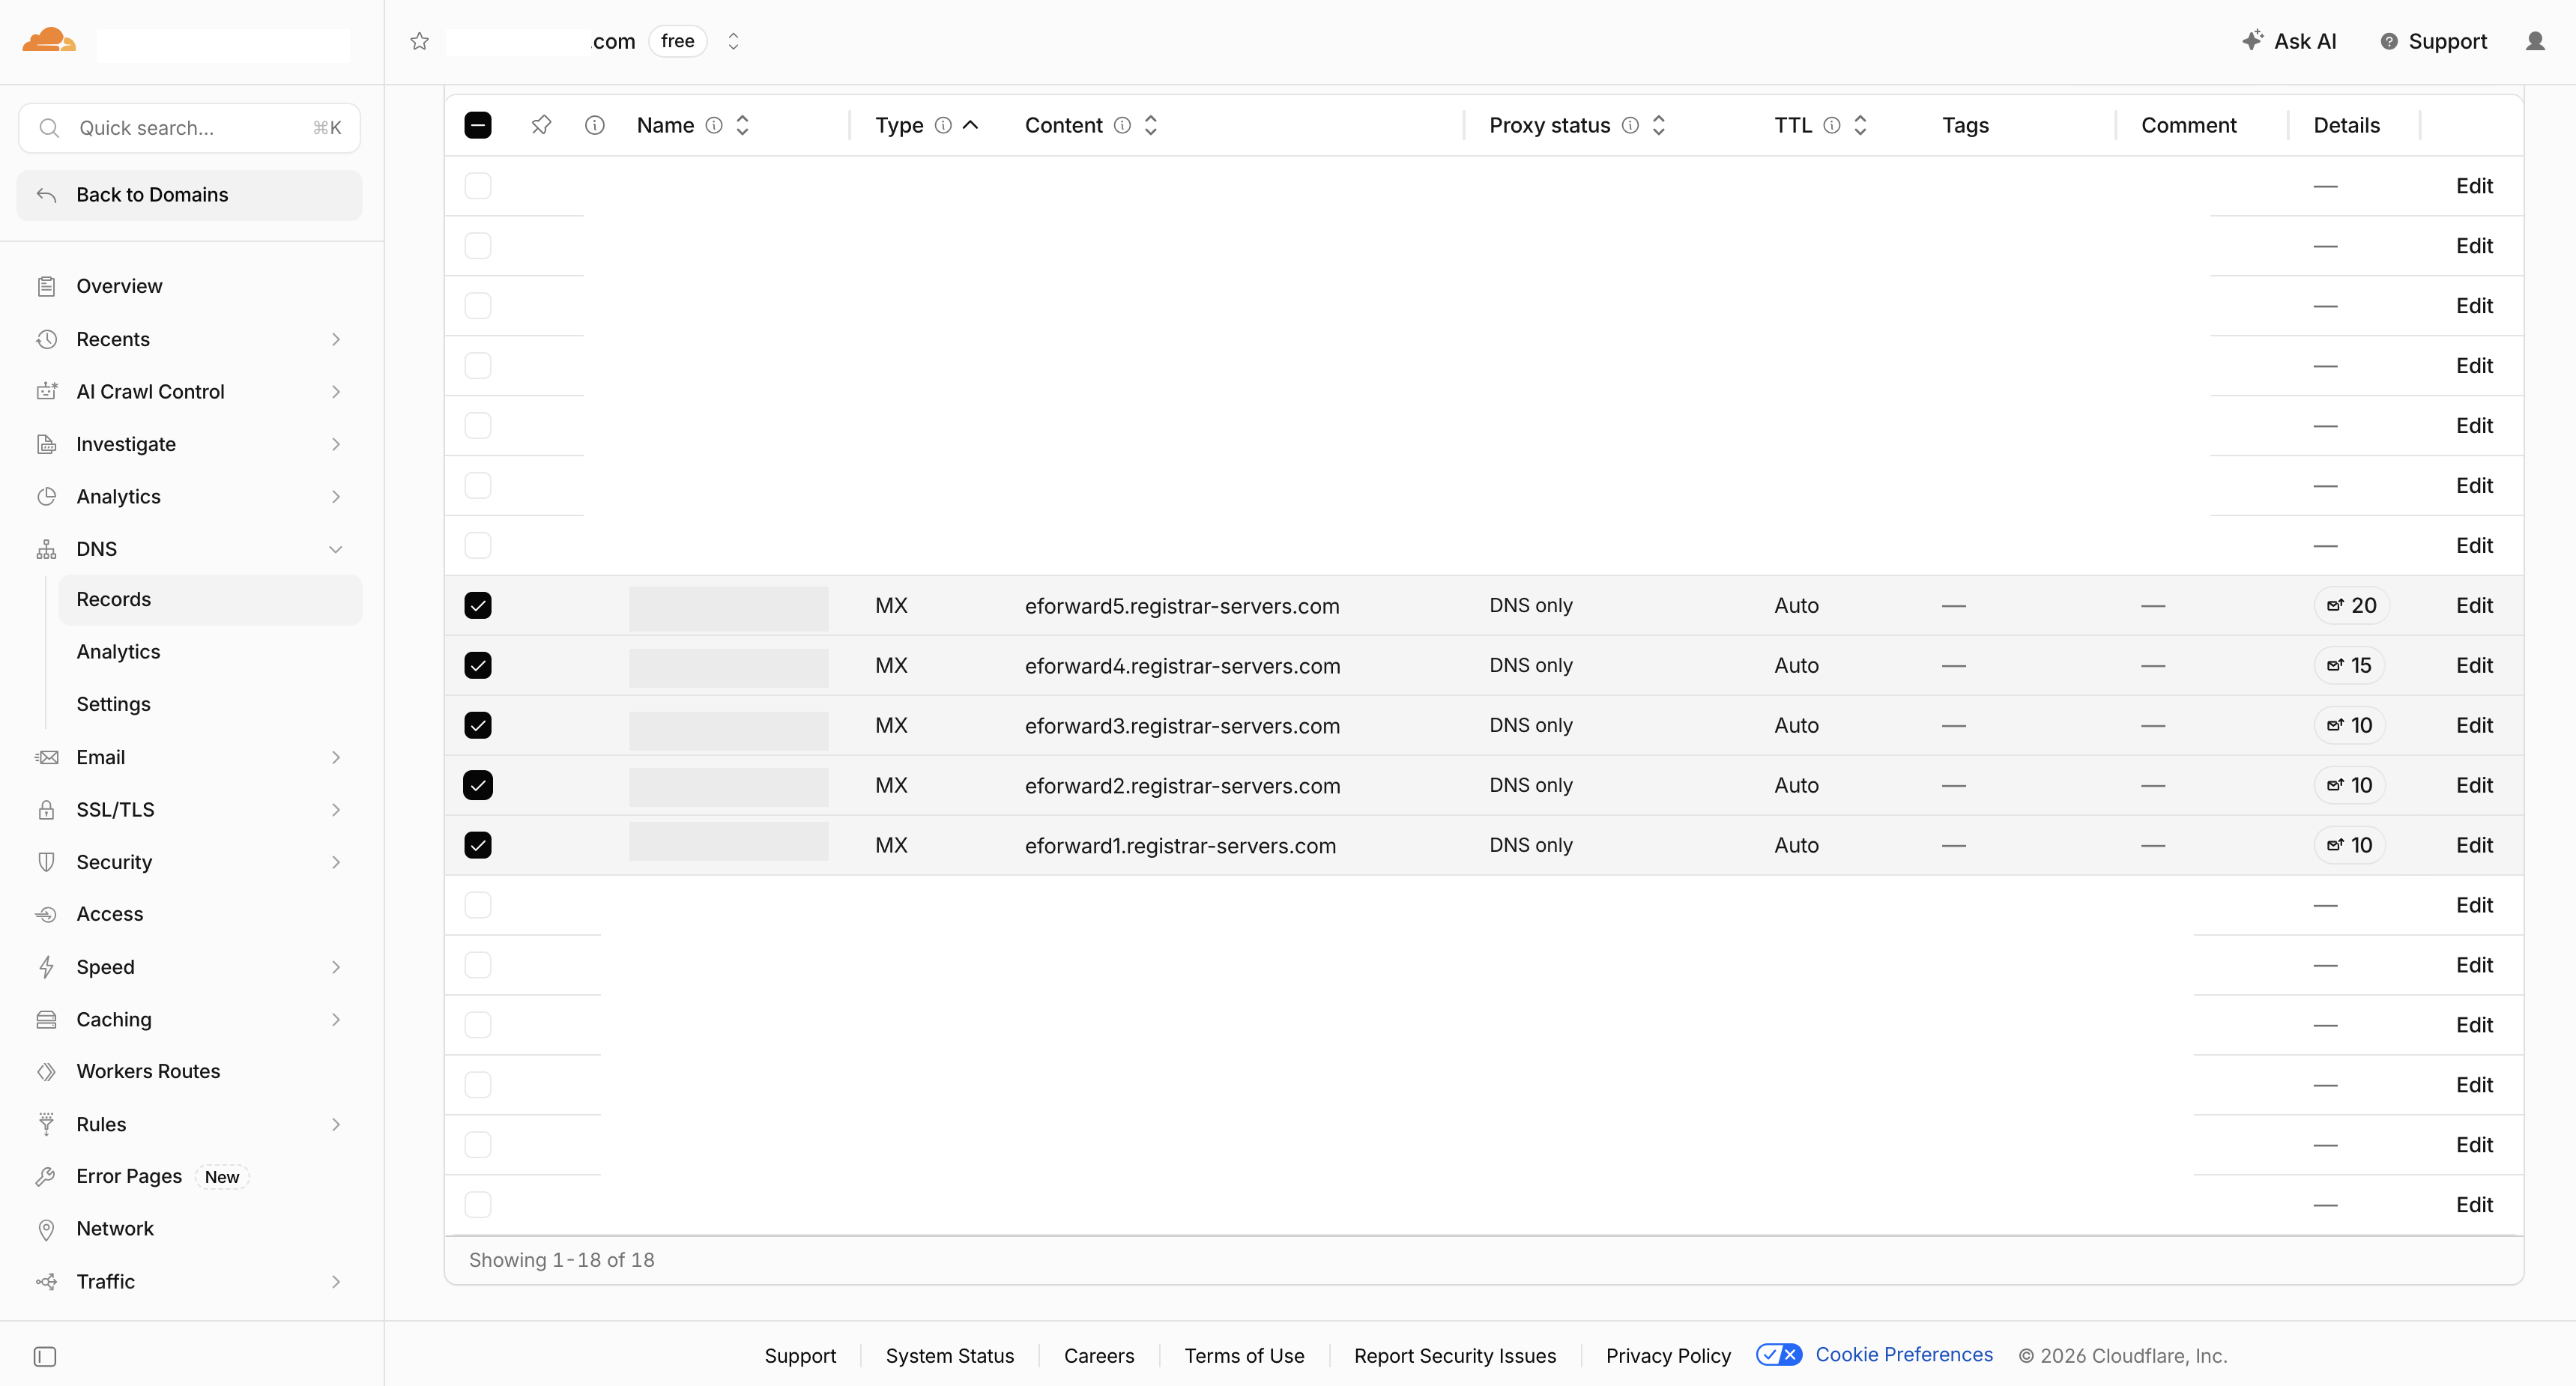
Step 3: Onboard to Email Routing
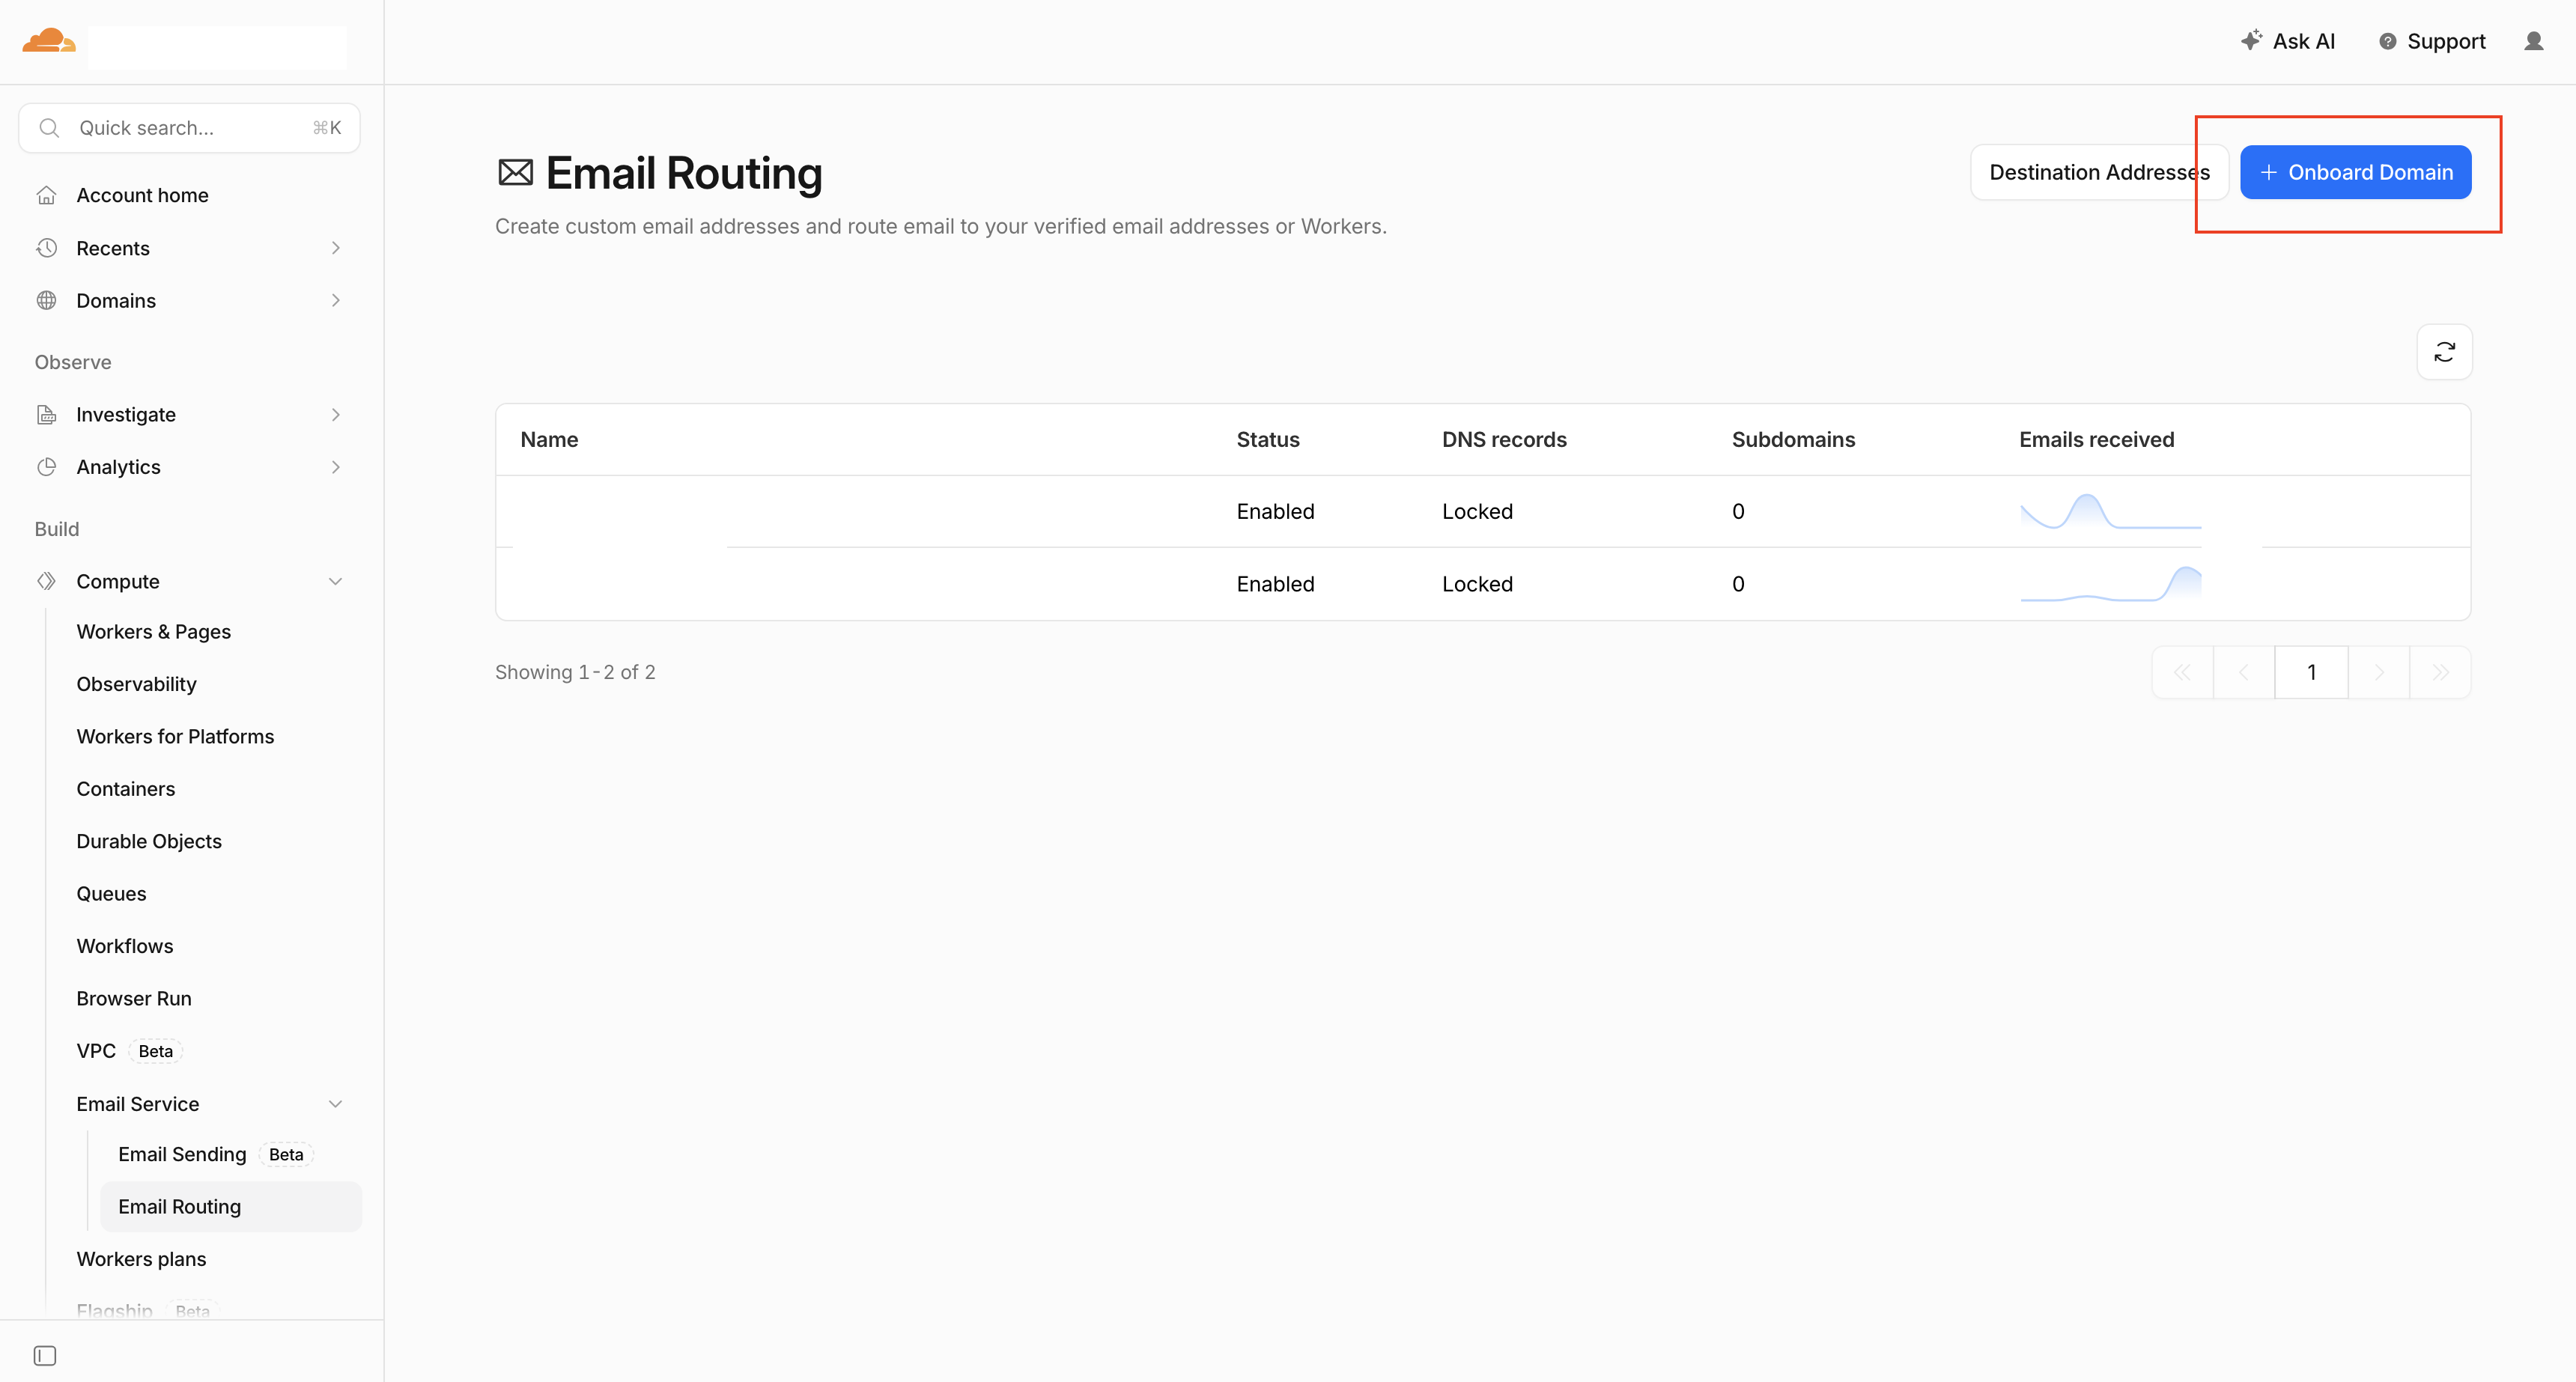
Within your Cloudflare account, navigate to the Email Routing (left menu or search for it). Hit "Onboard Domain" in the top right corner.
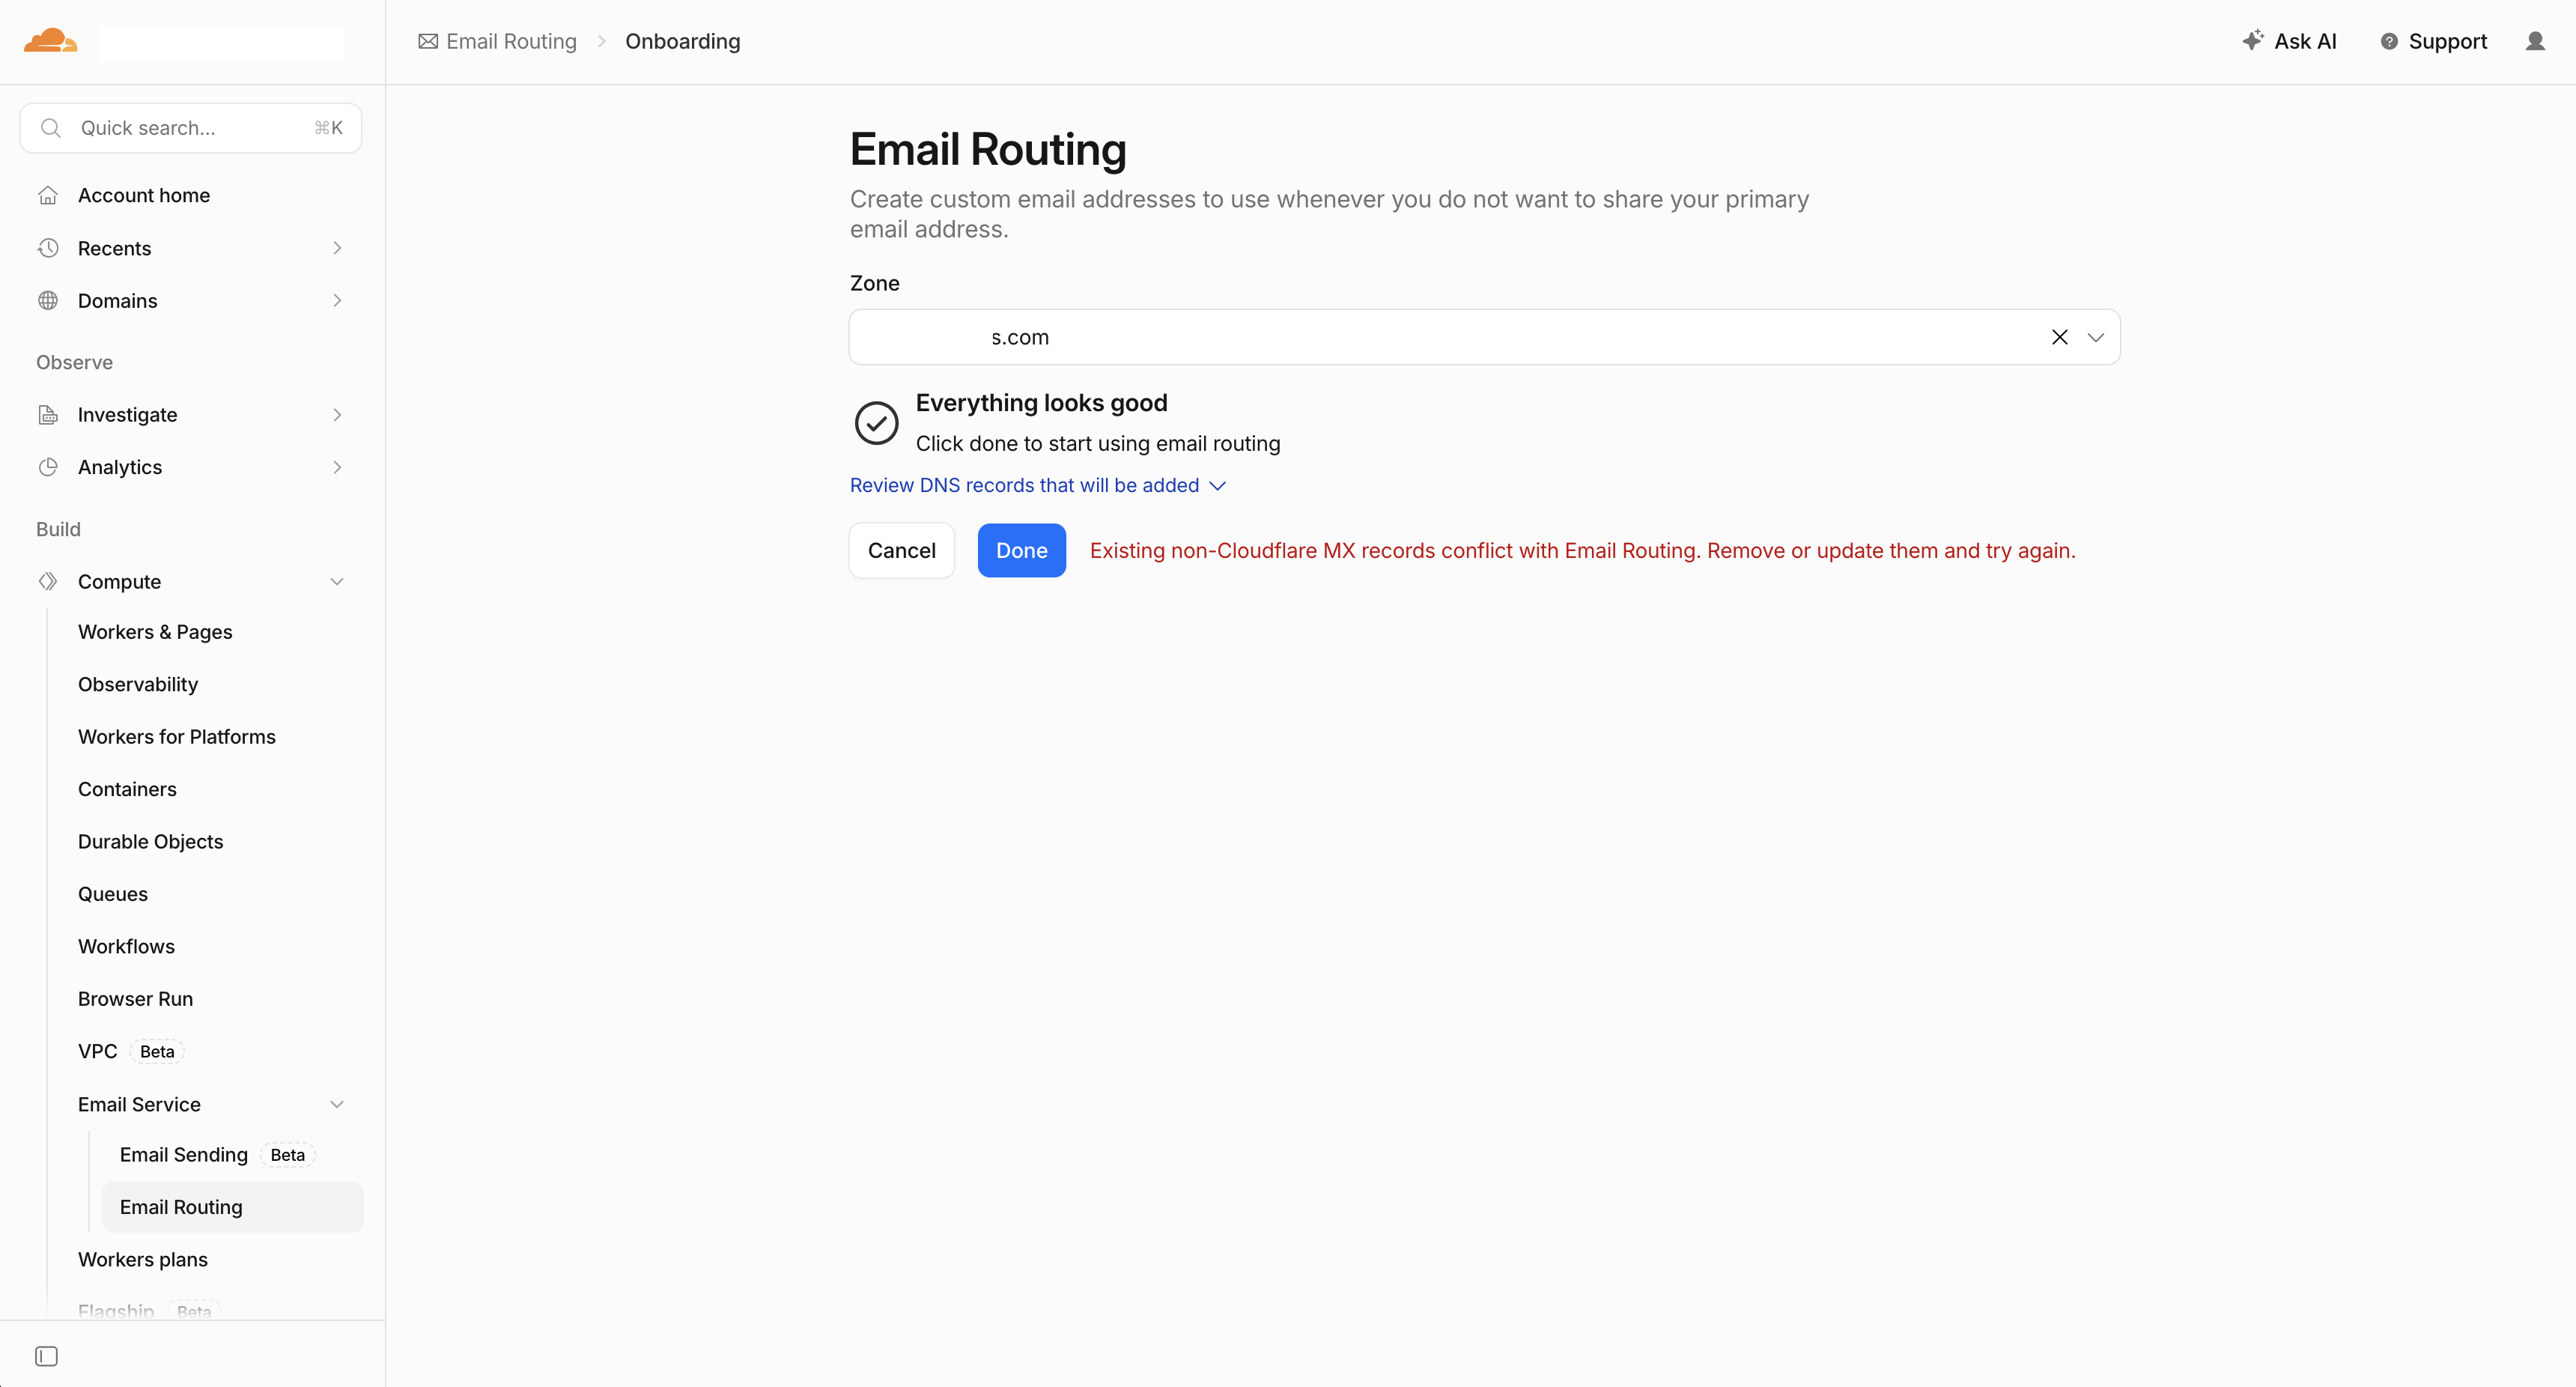
Enter in your domain and hit "Next".
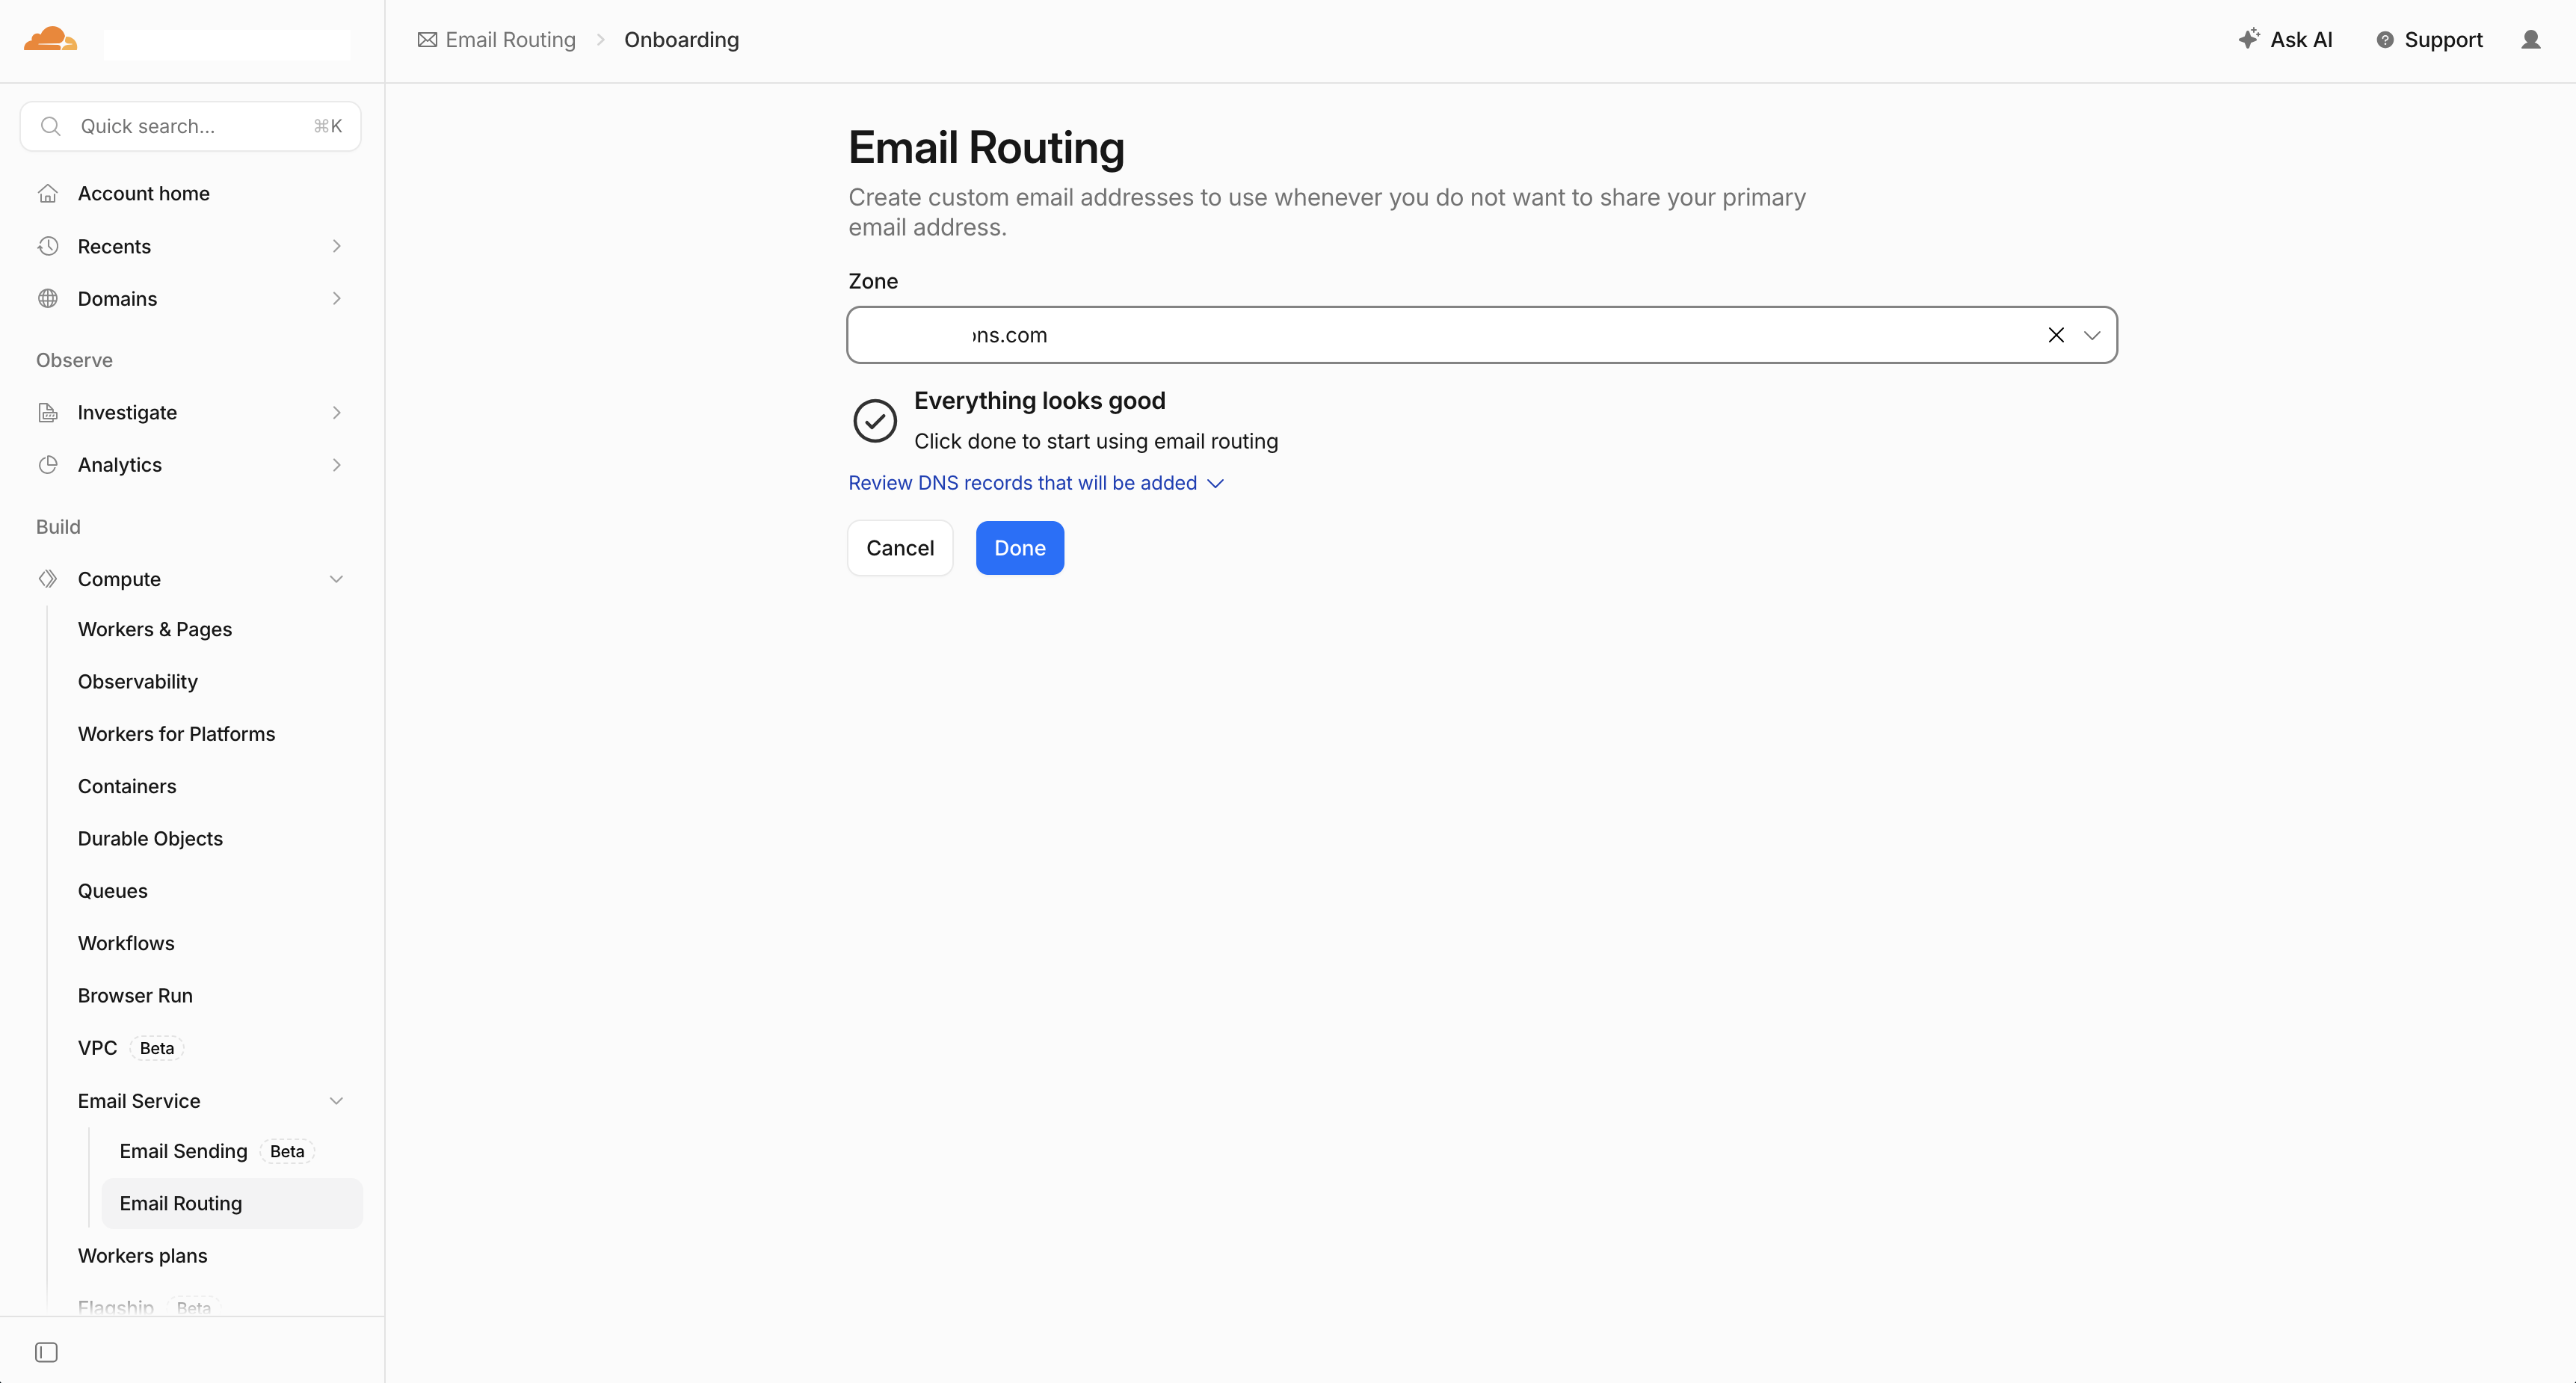
If you get this error, you didn't clear the MX records from your domain. Go back to your domain and delete any MX records that are already there. Then repeat the steps above.
Step 4: Add MX Records
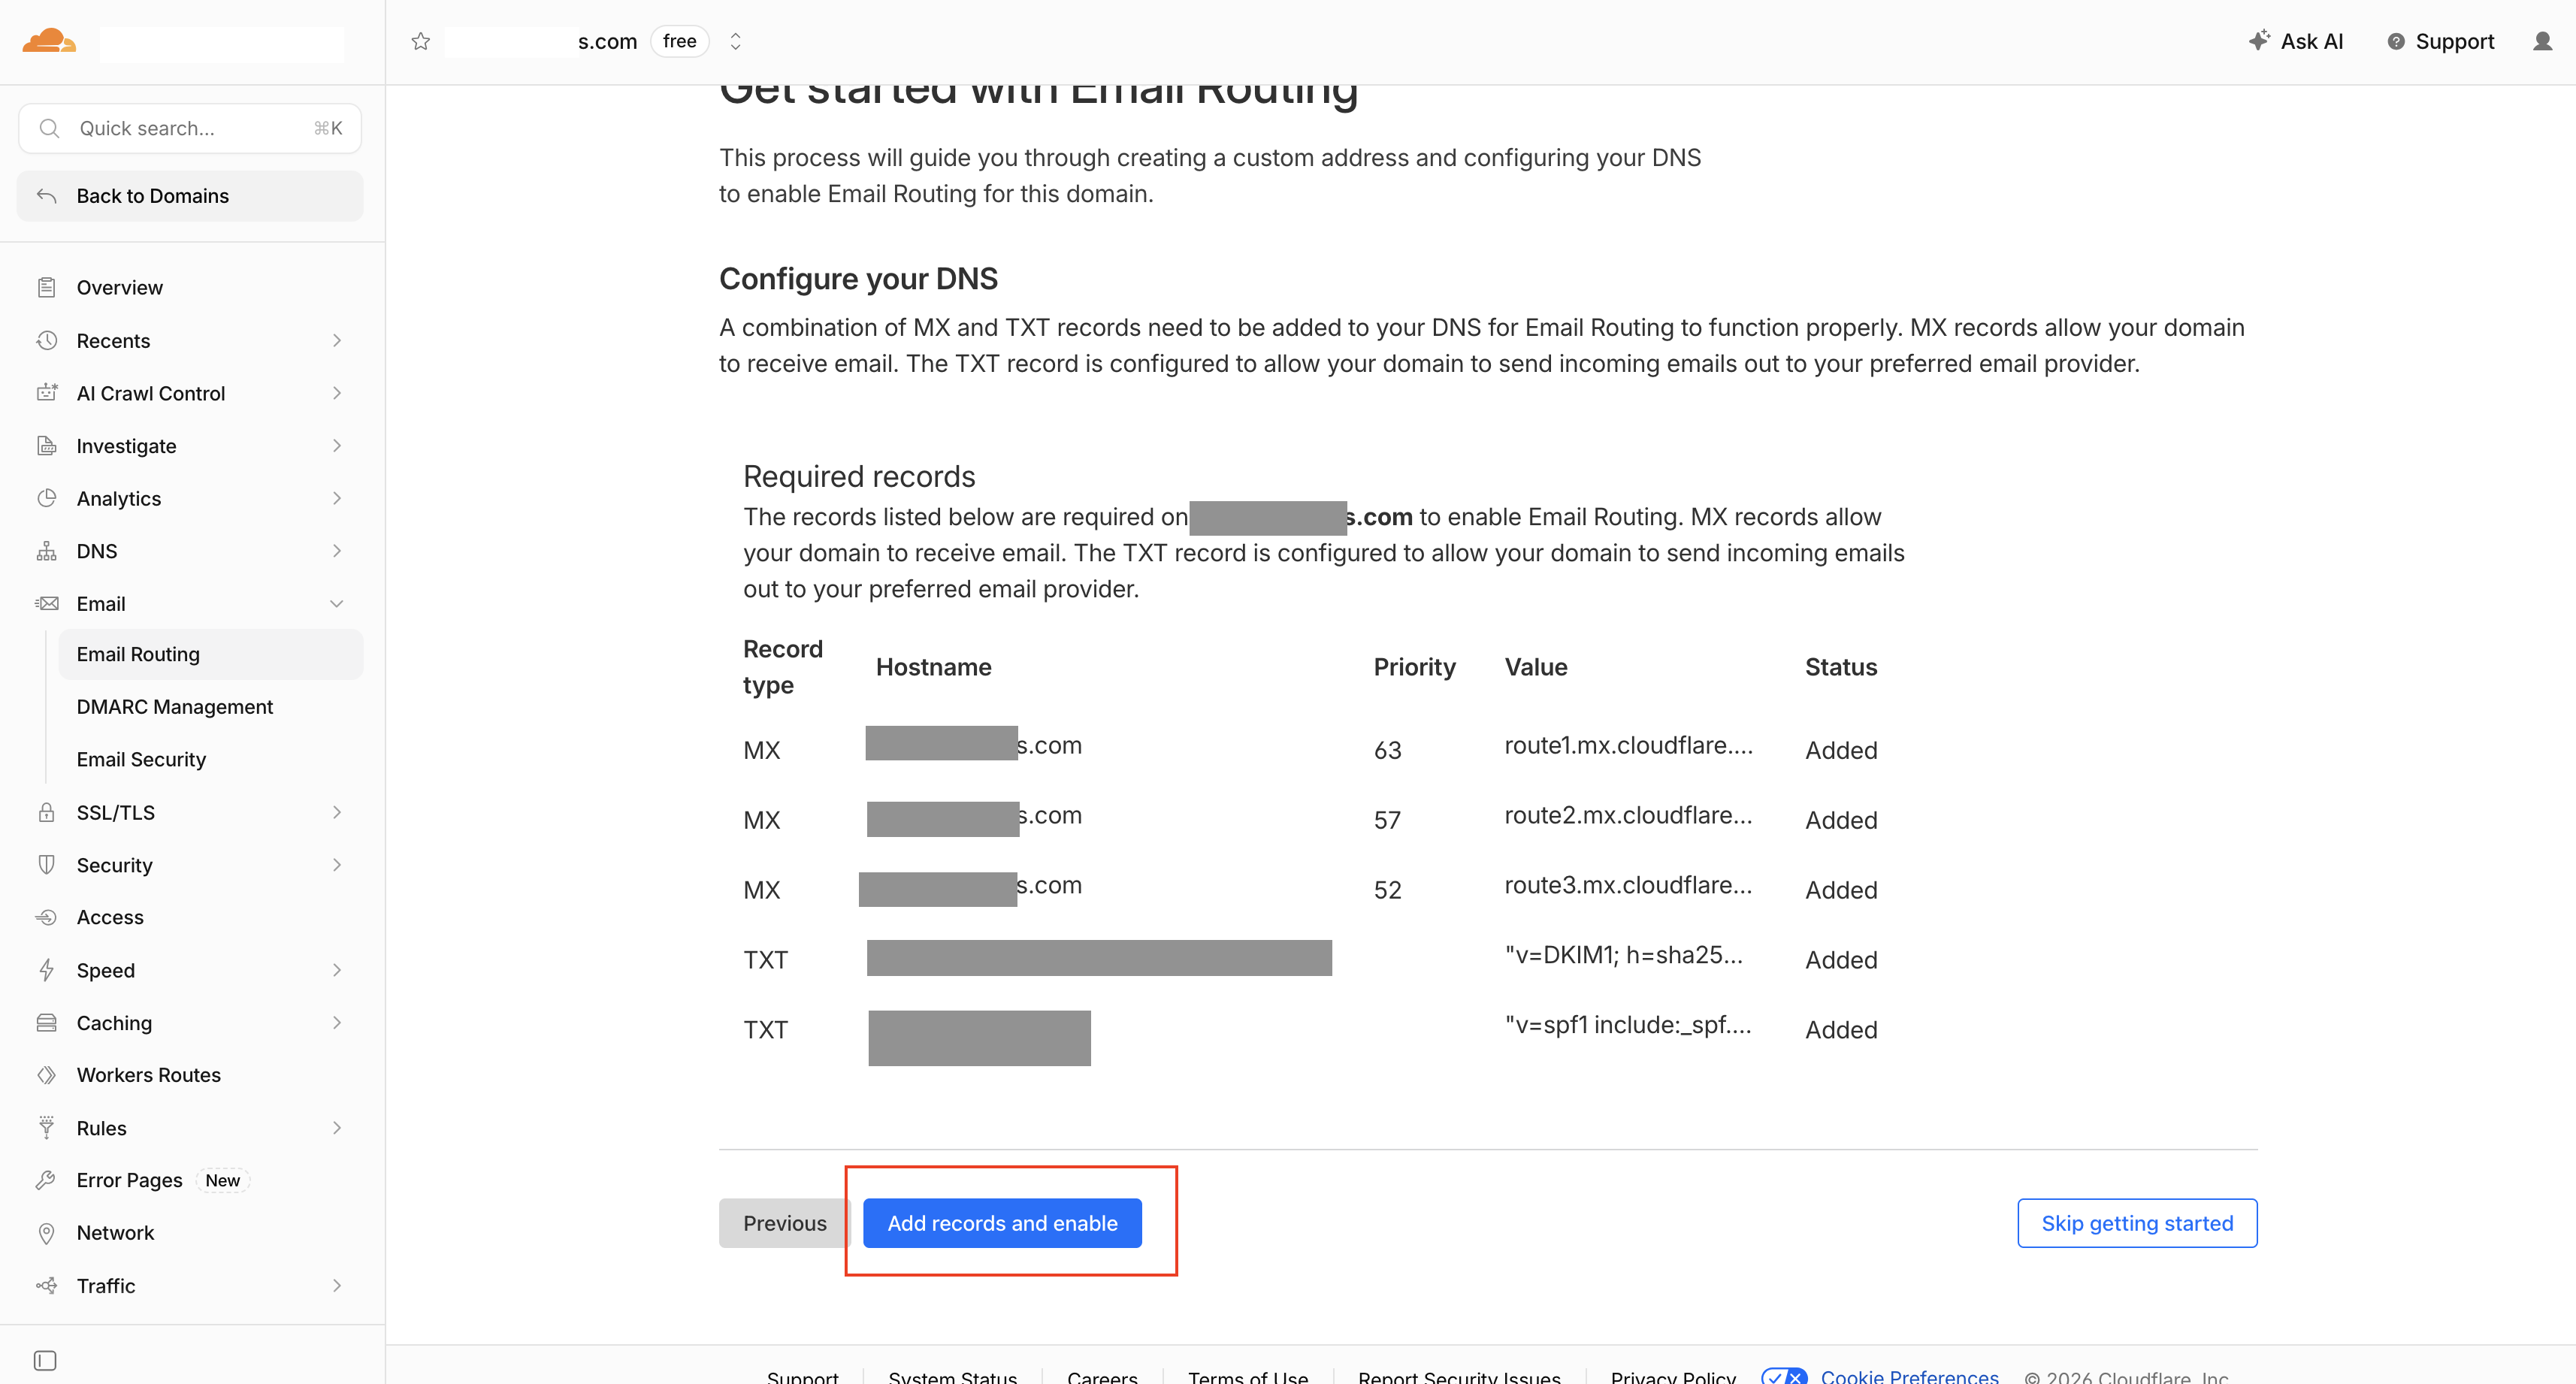
Cloudflare will redirect you to add MX records to your domain. Add the MX records provided by Cloudflare. Hit "Add Records and Enable".
Step 5: Add Destination Email Address
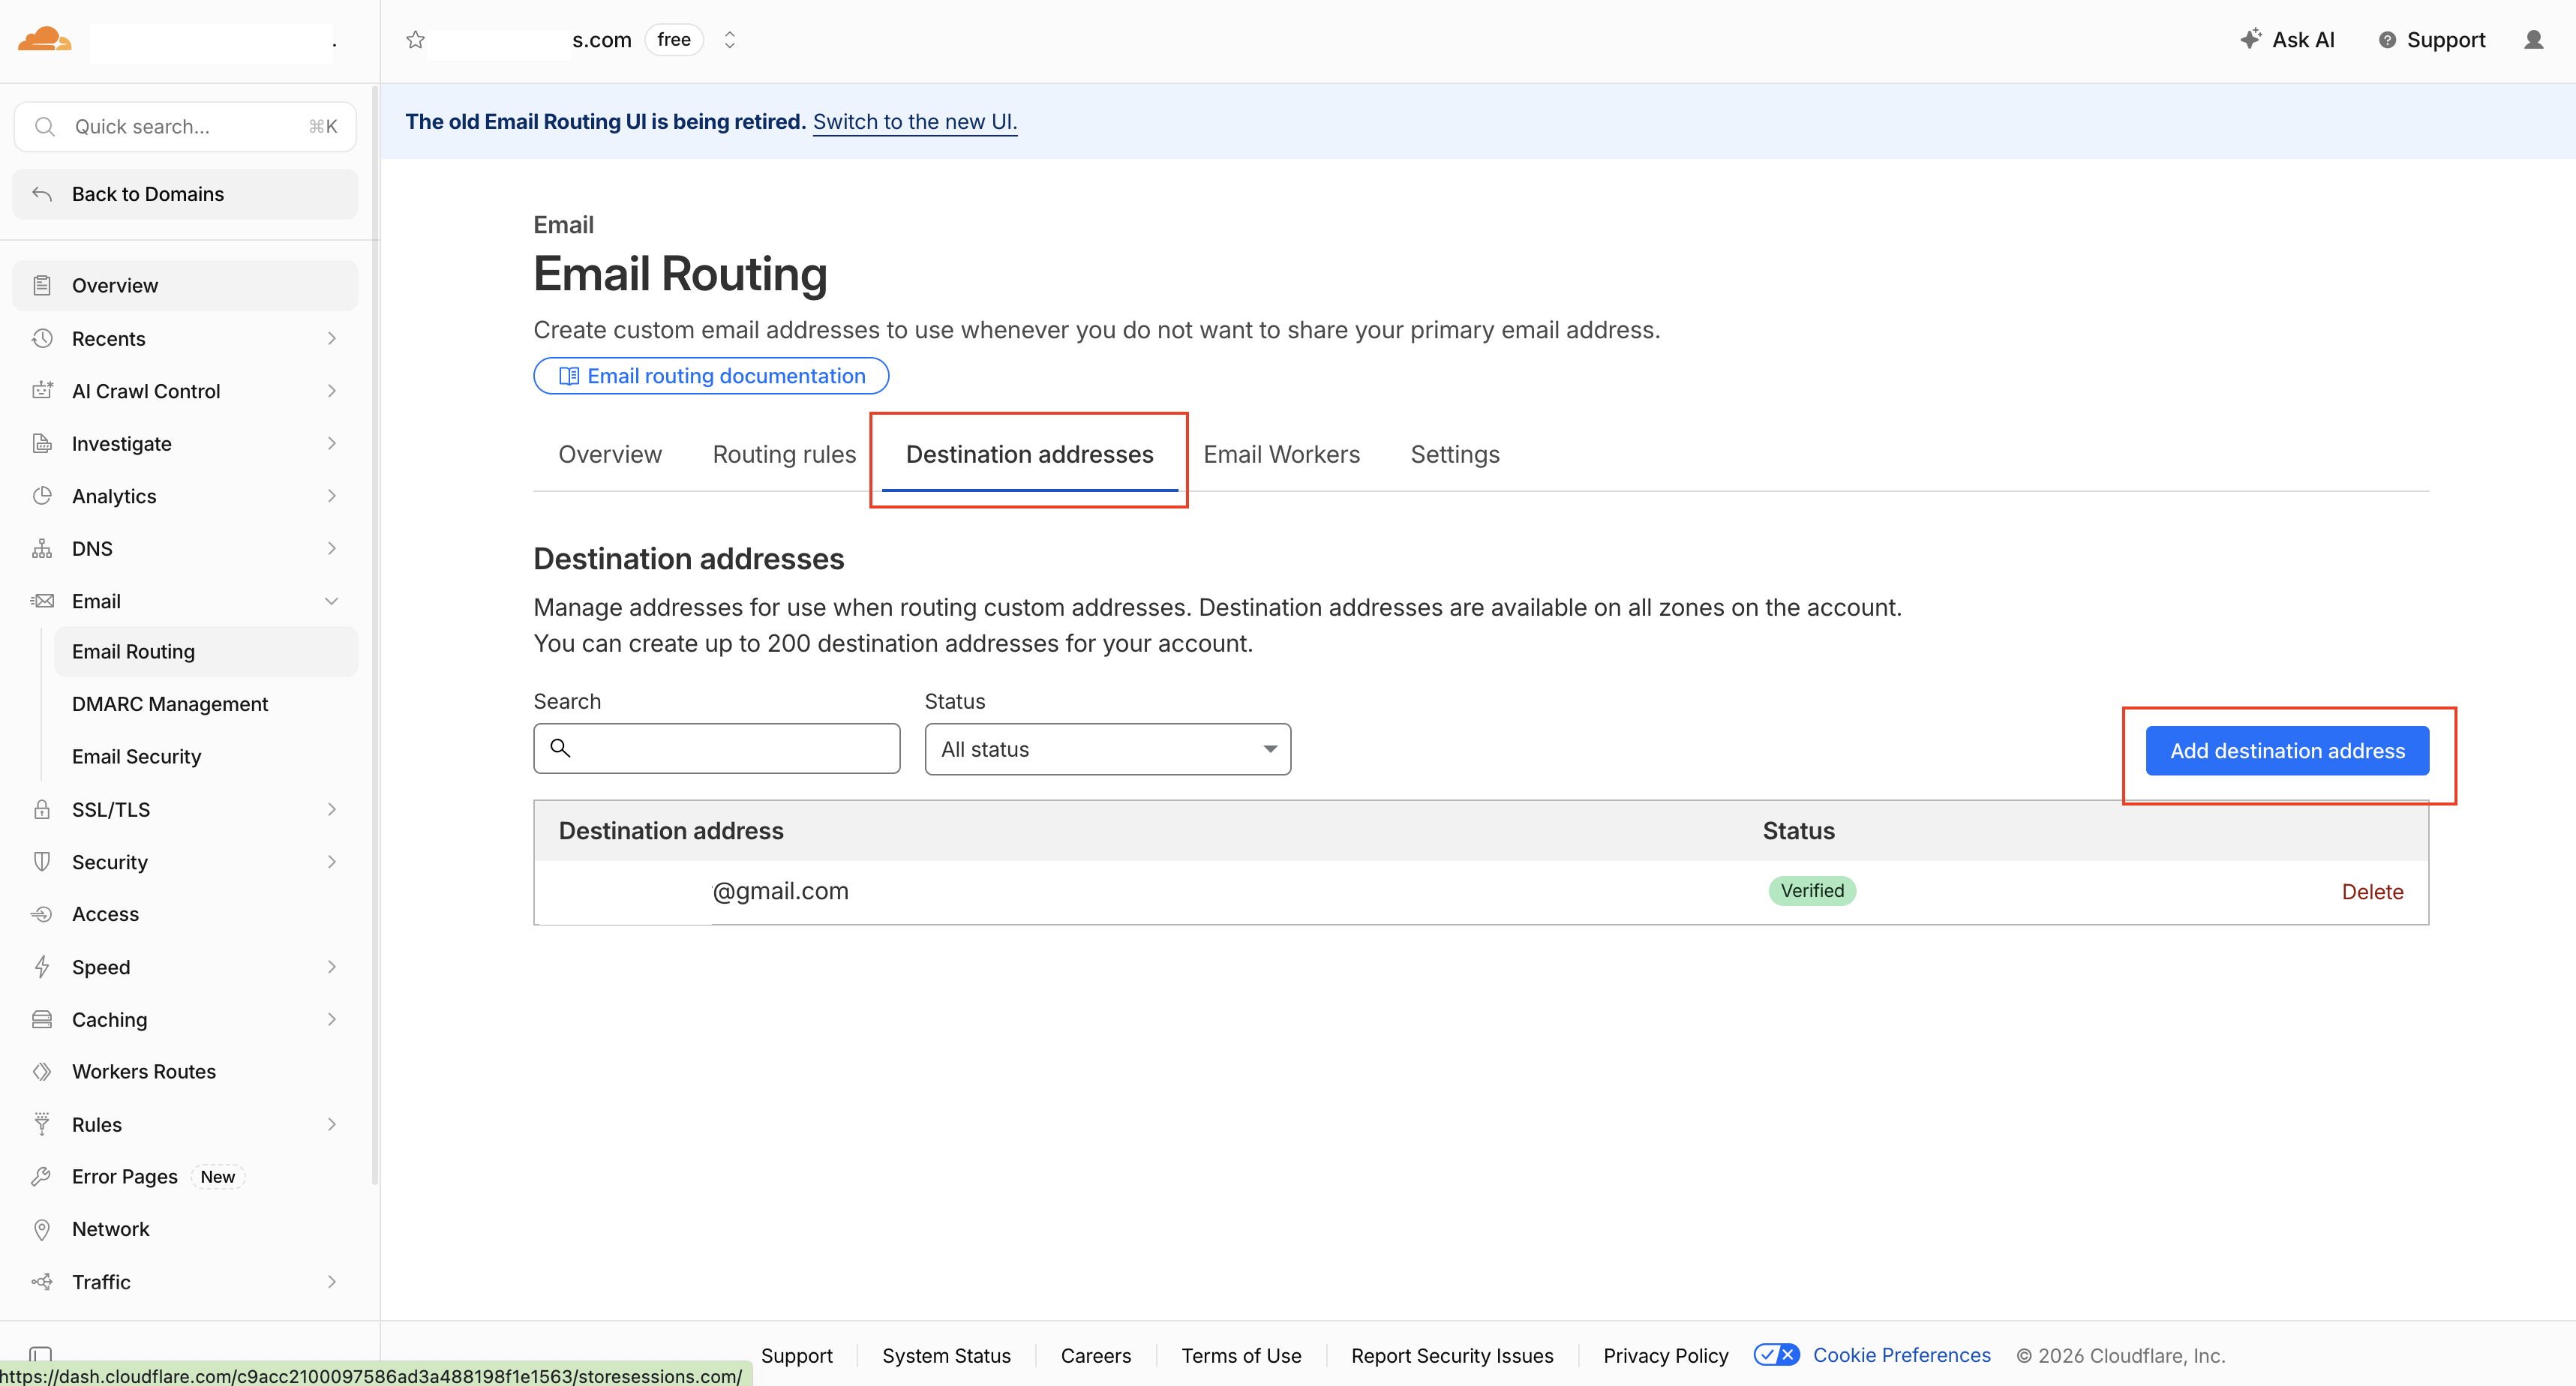
Next, we want to configure a Gmail address to forward emails to. This is the email address that you will receive emails sent to your domain email address. I will point out that I'm using the Old UI if the dashboard looks different, but the steps are the same. Navigate to Email Routing and hit "Add Destination Address".
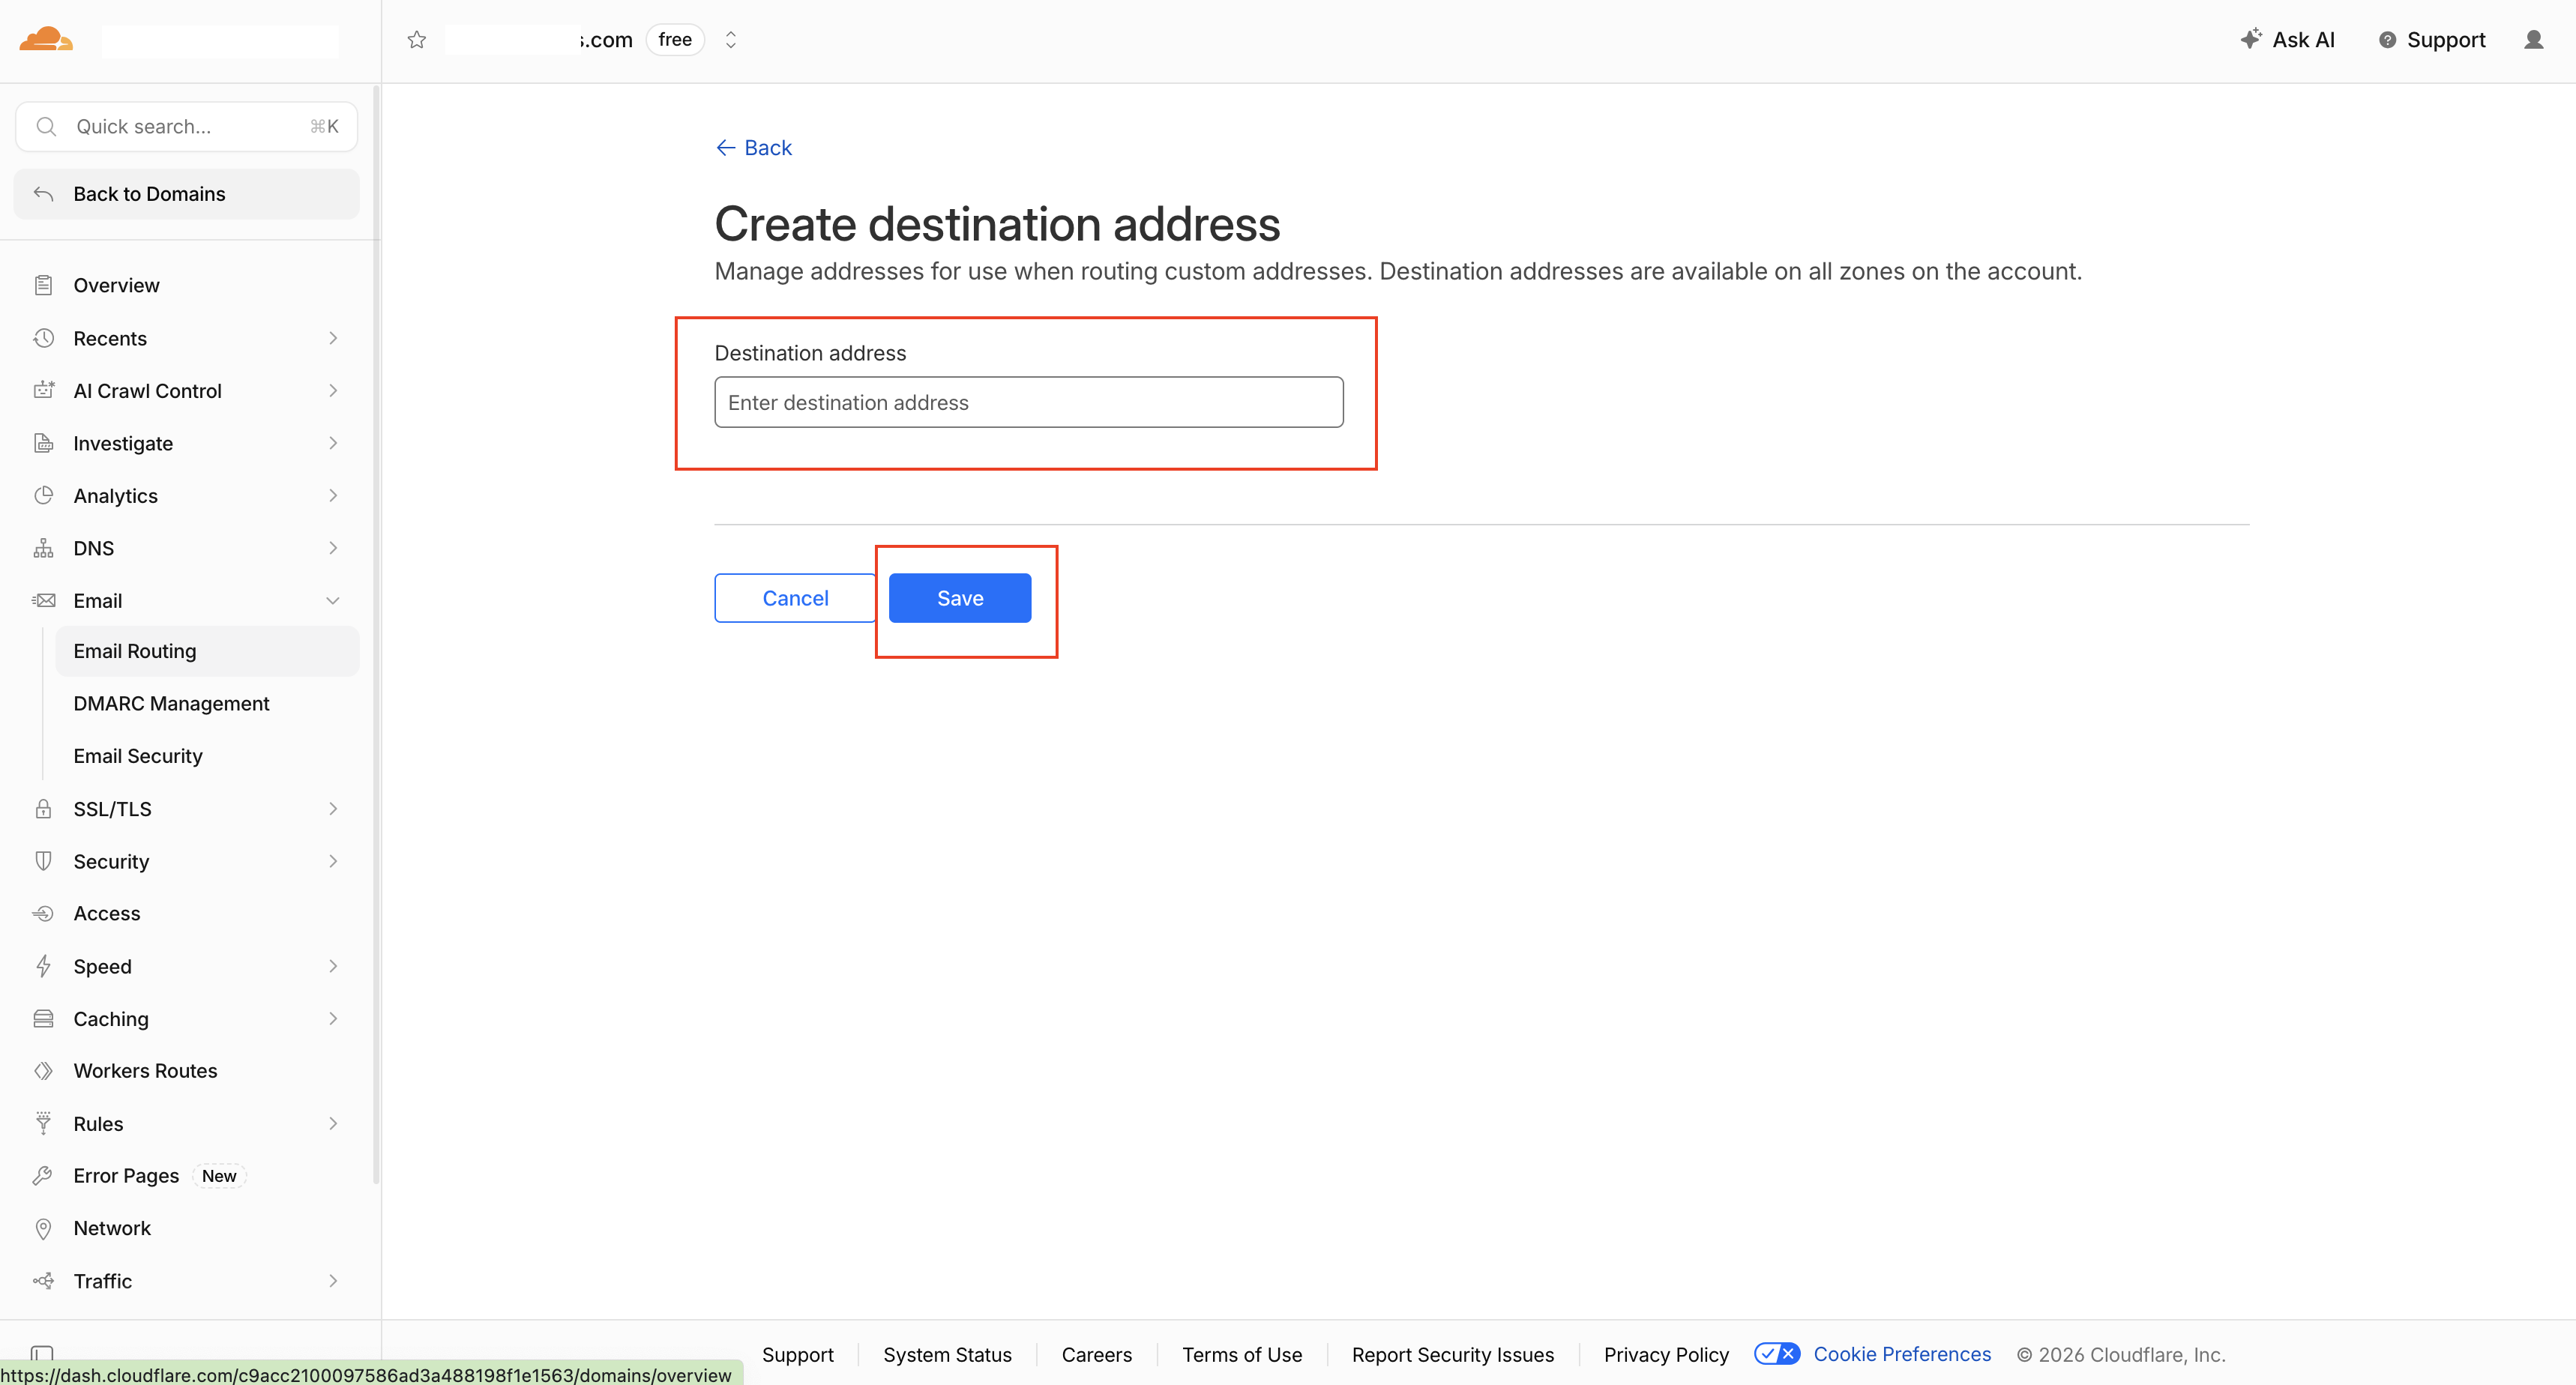
Add your email, and hit "Save". You will need to go through a verification process to verify your email address. Check your email for the verification email and click the link to verify your email address.
Step 6: Setup Email Routing
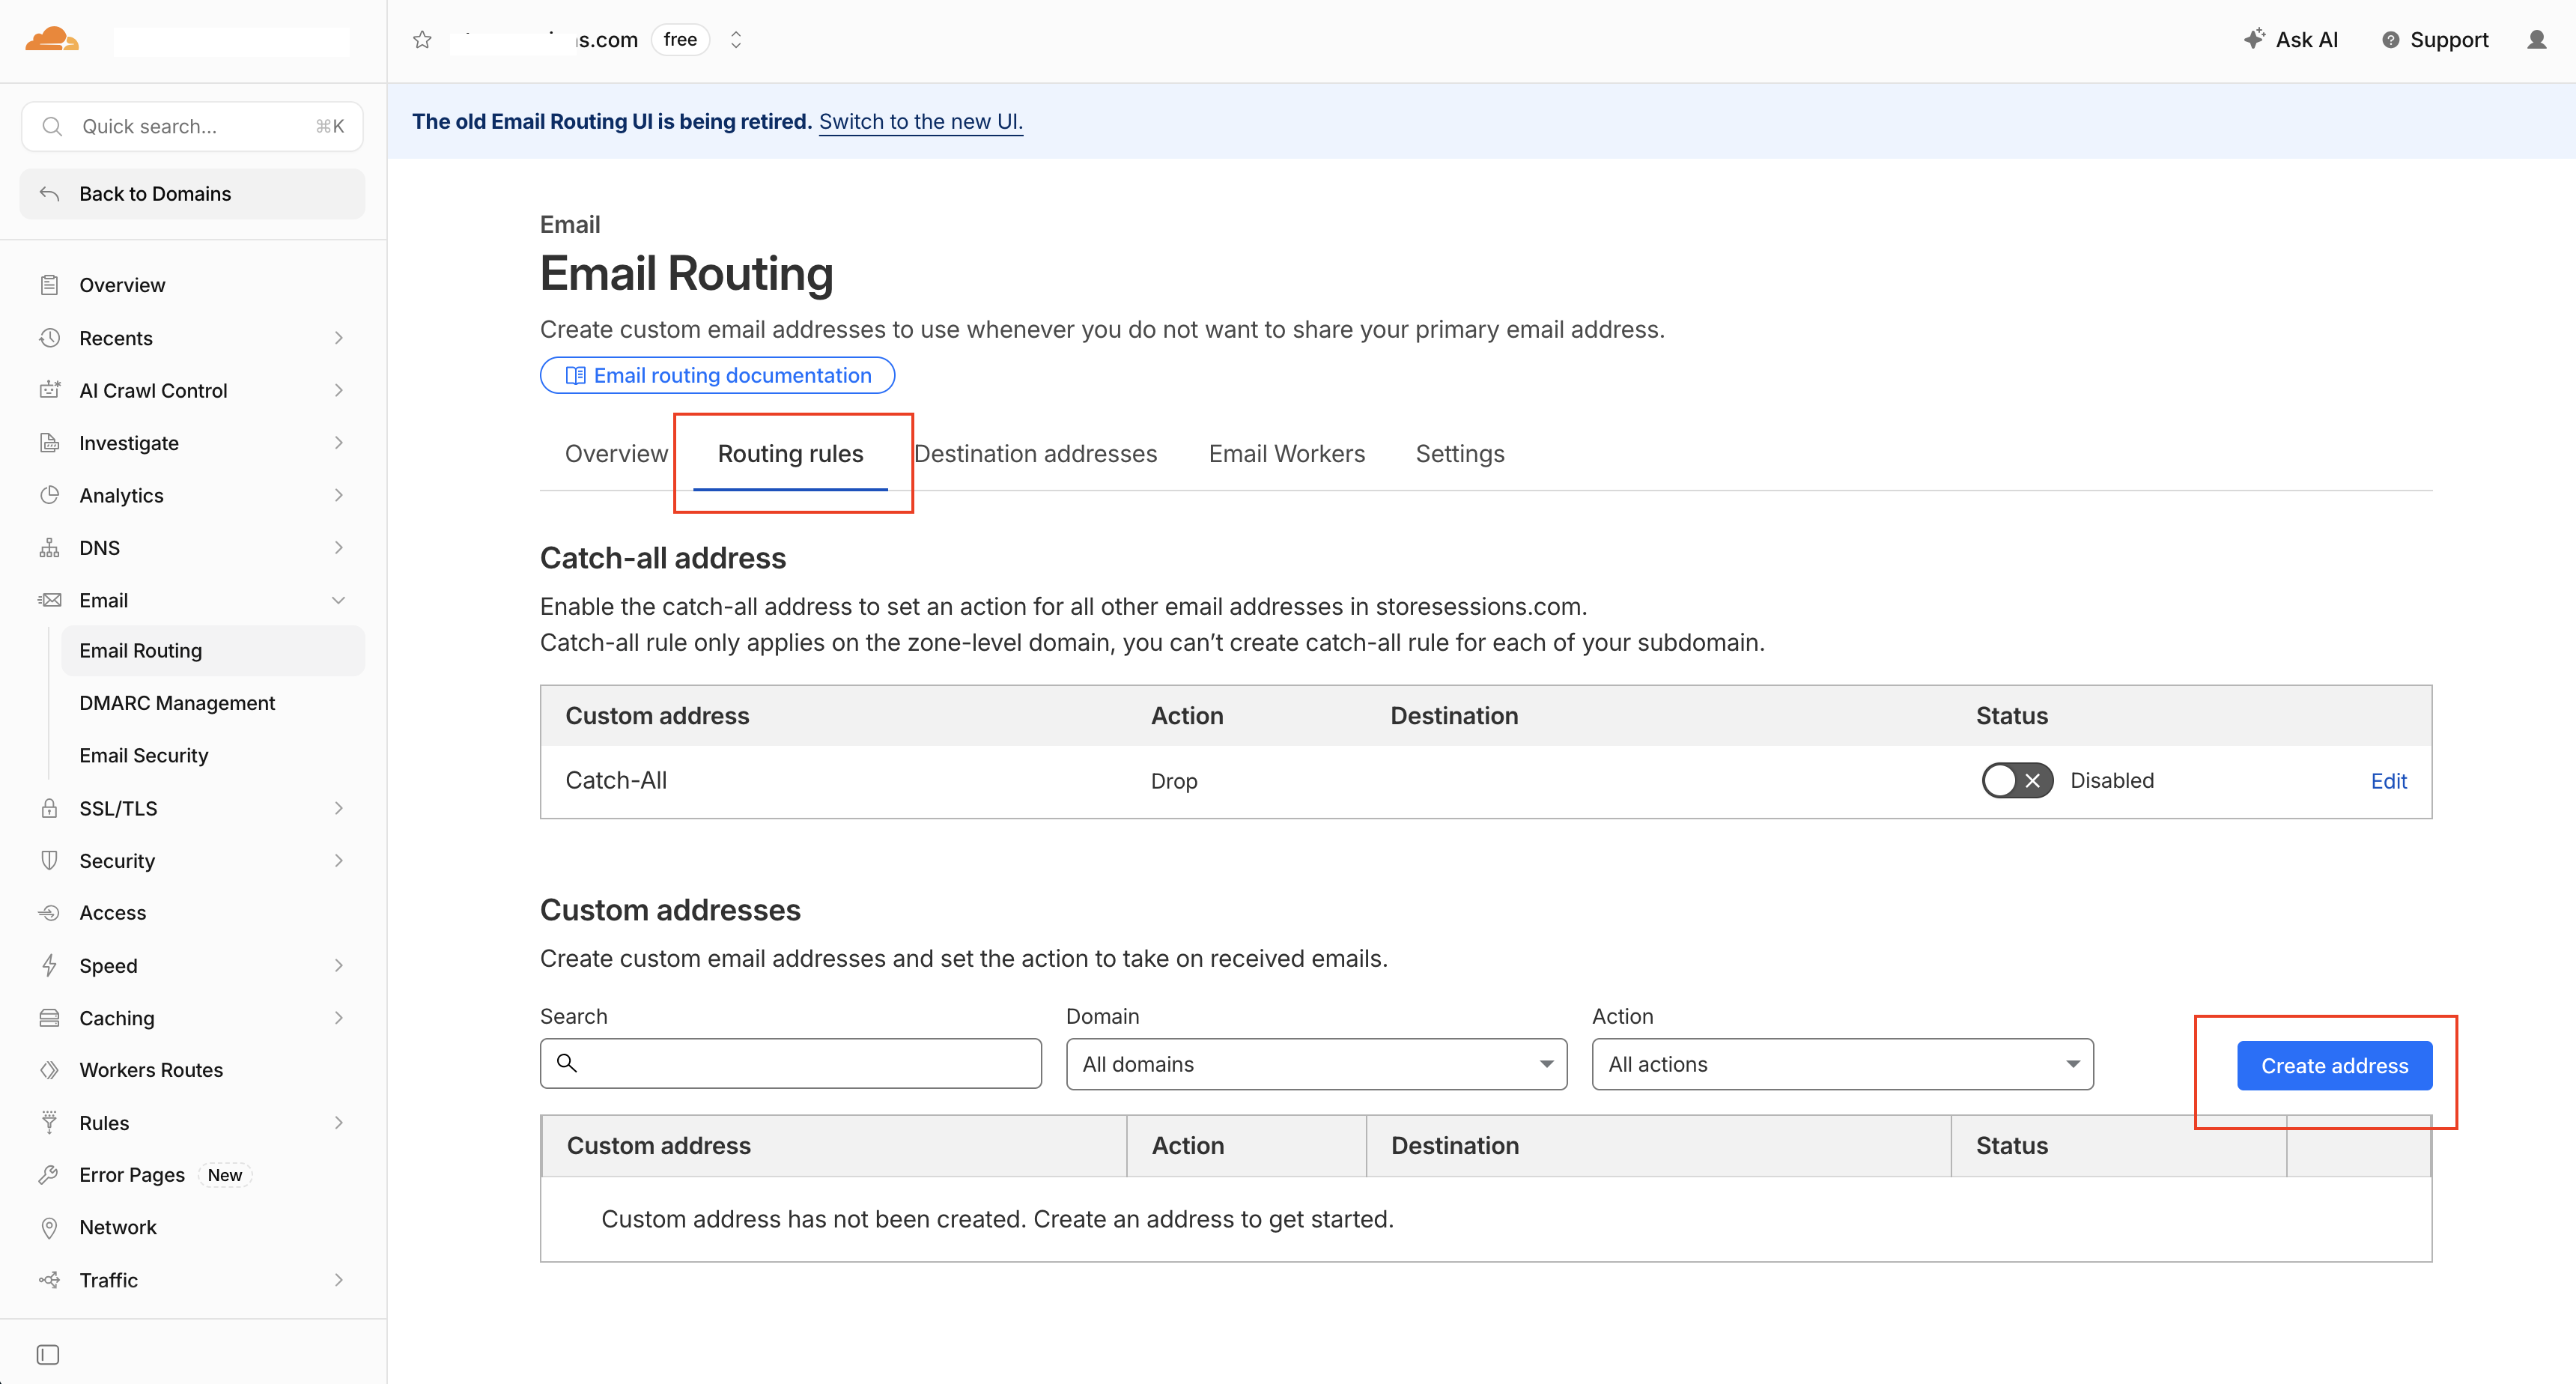
Naigate to Routing Rules and hit "Create Address".
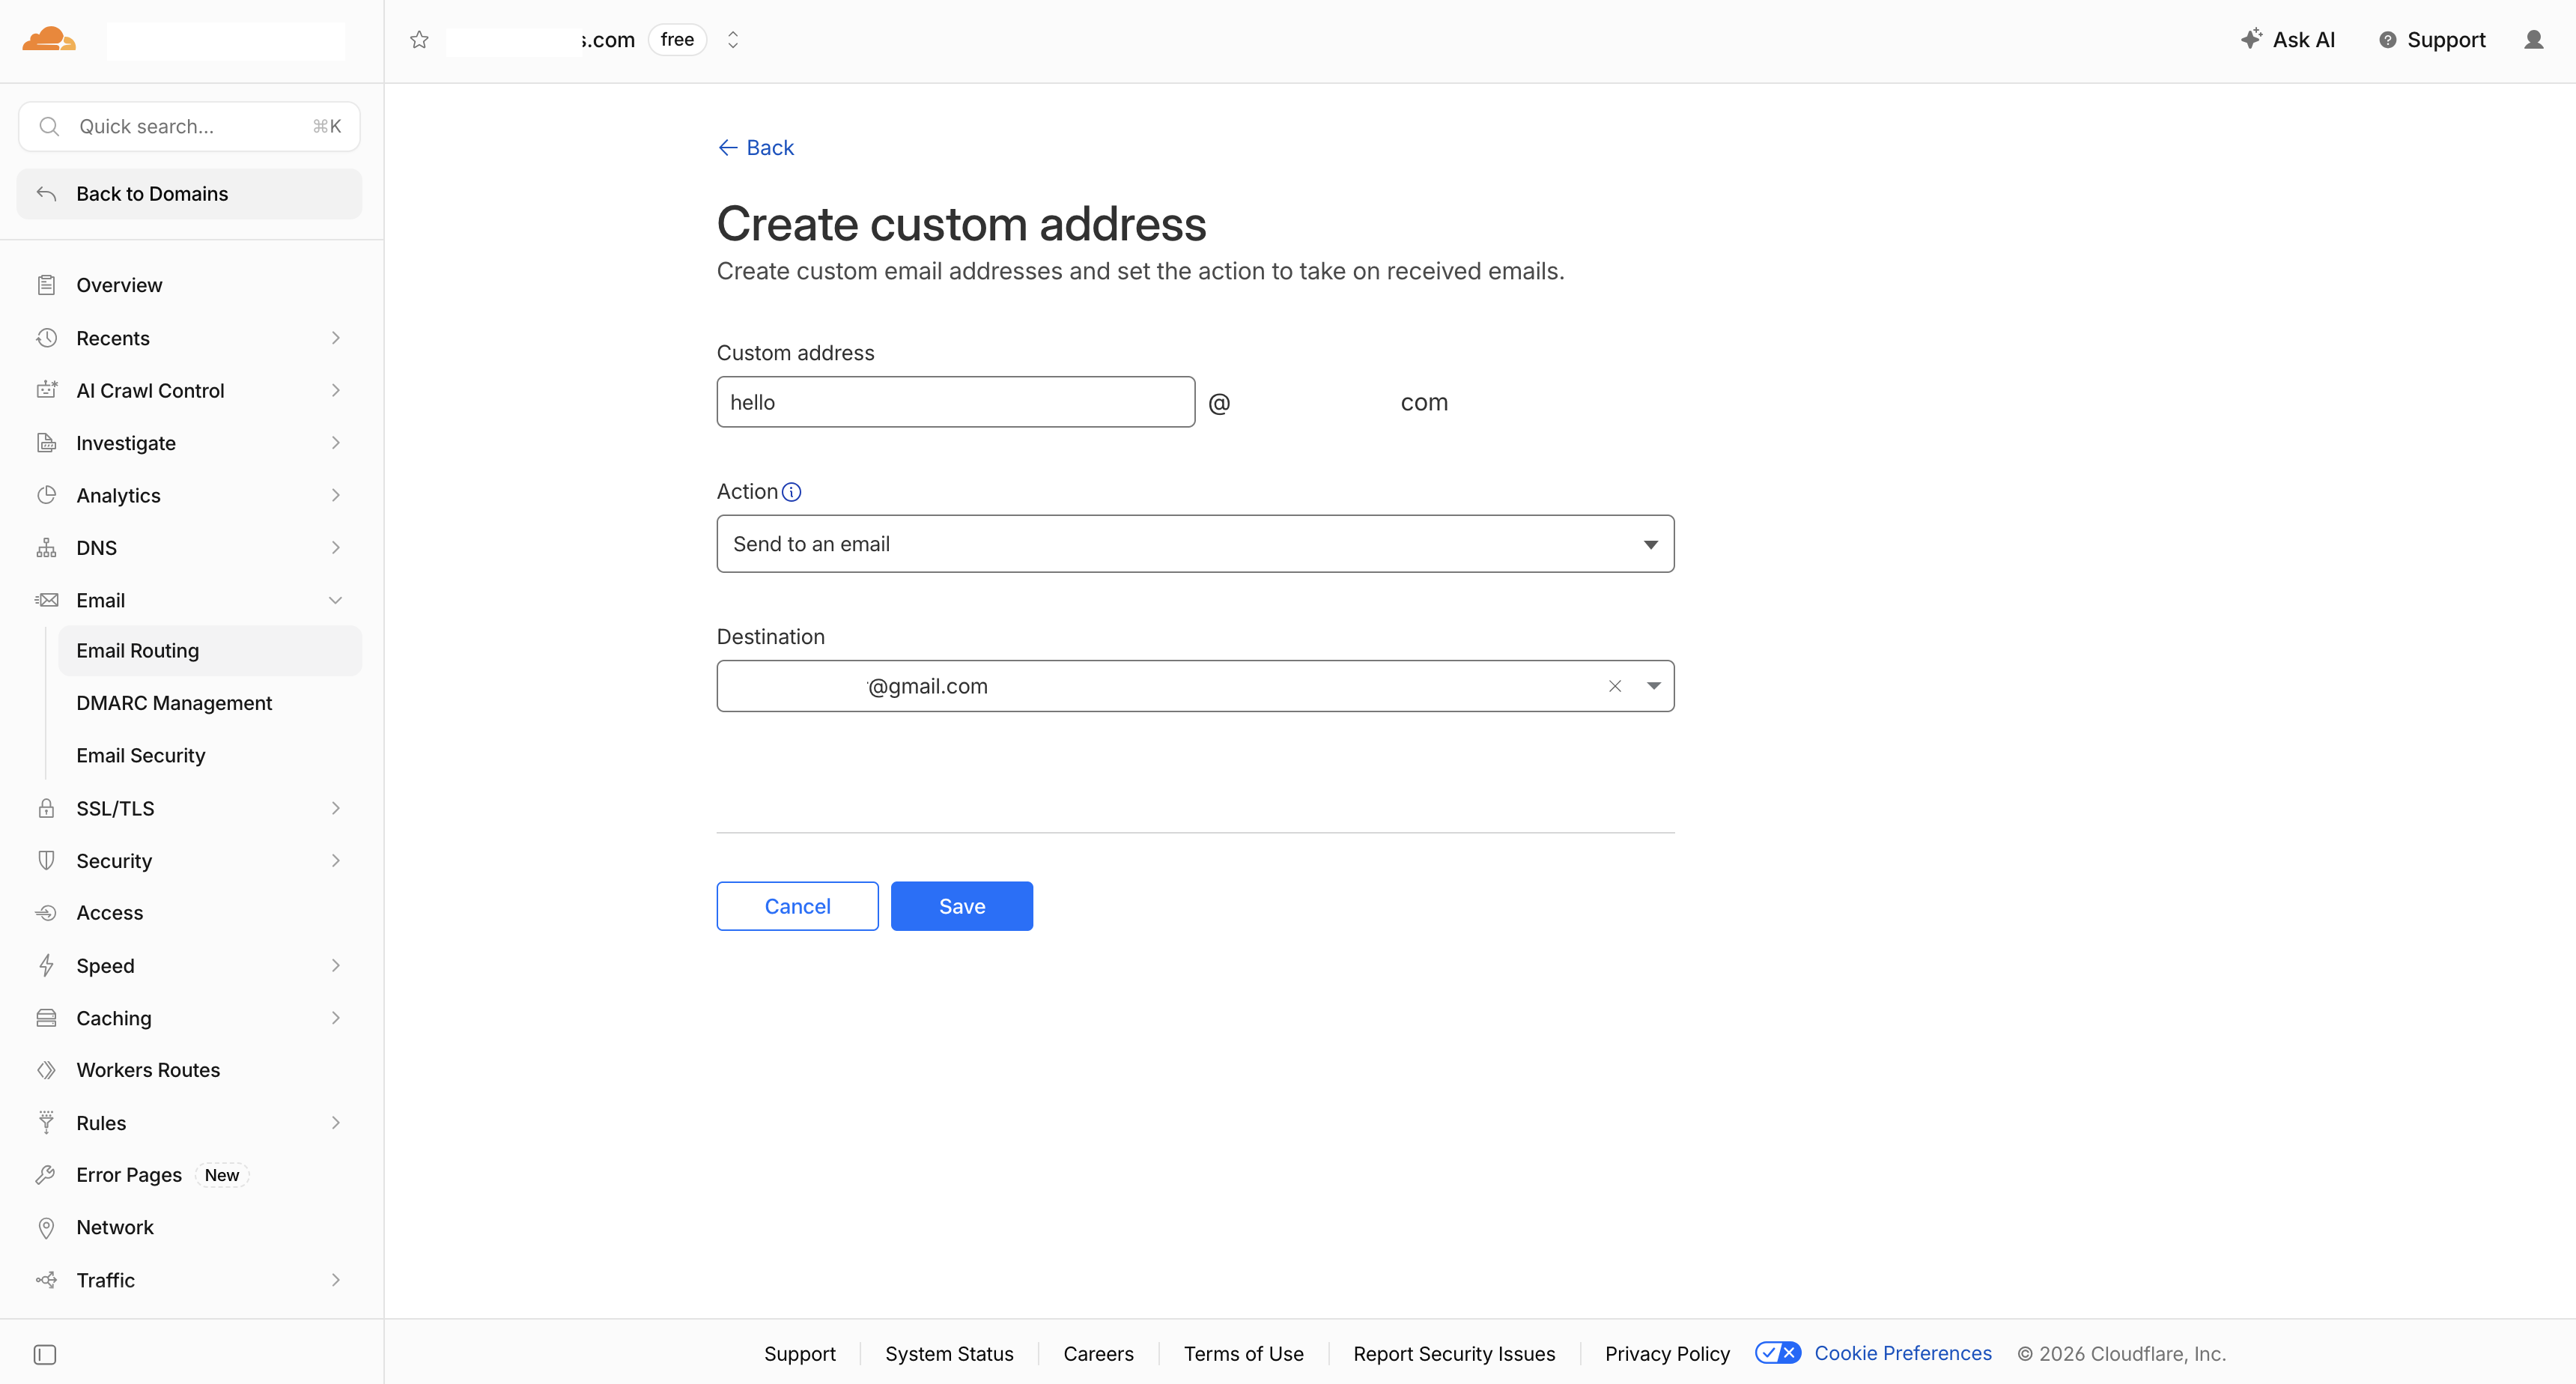
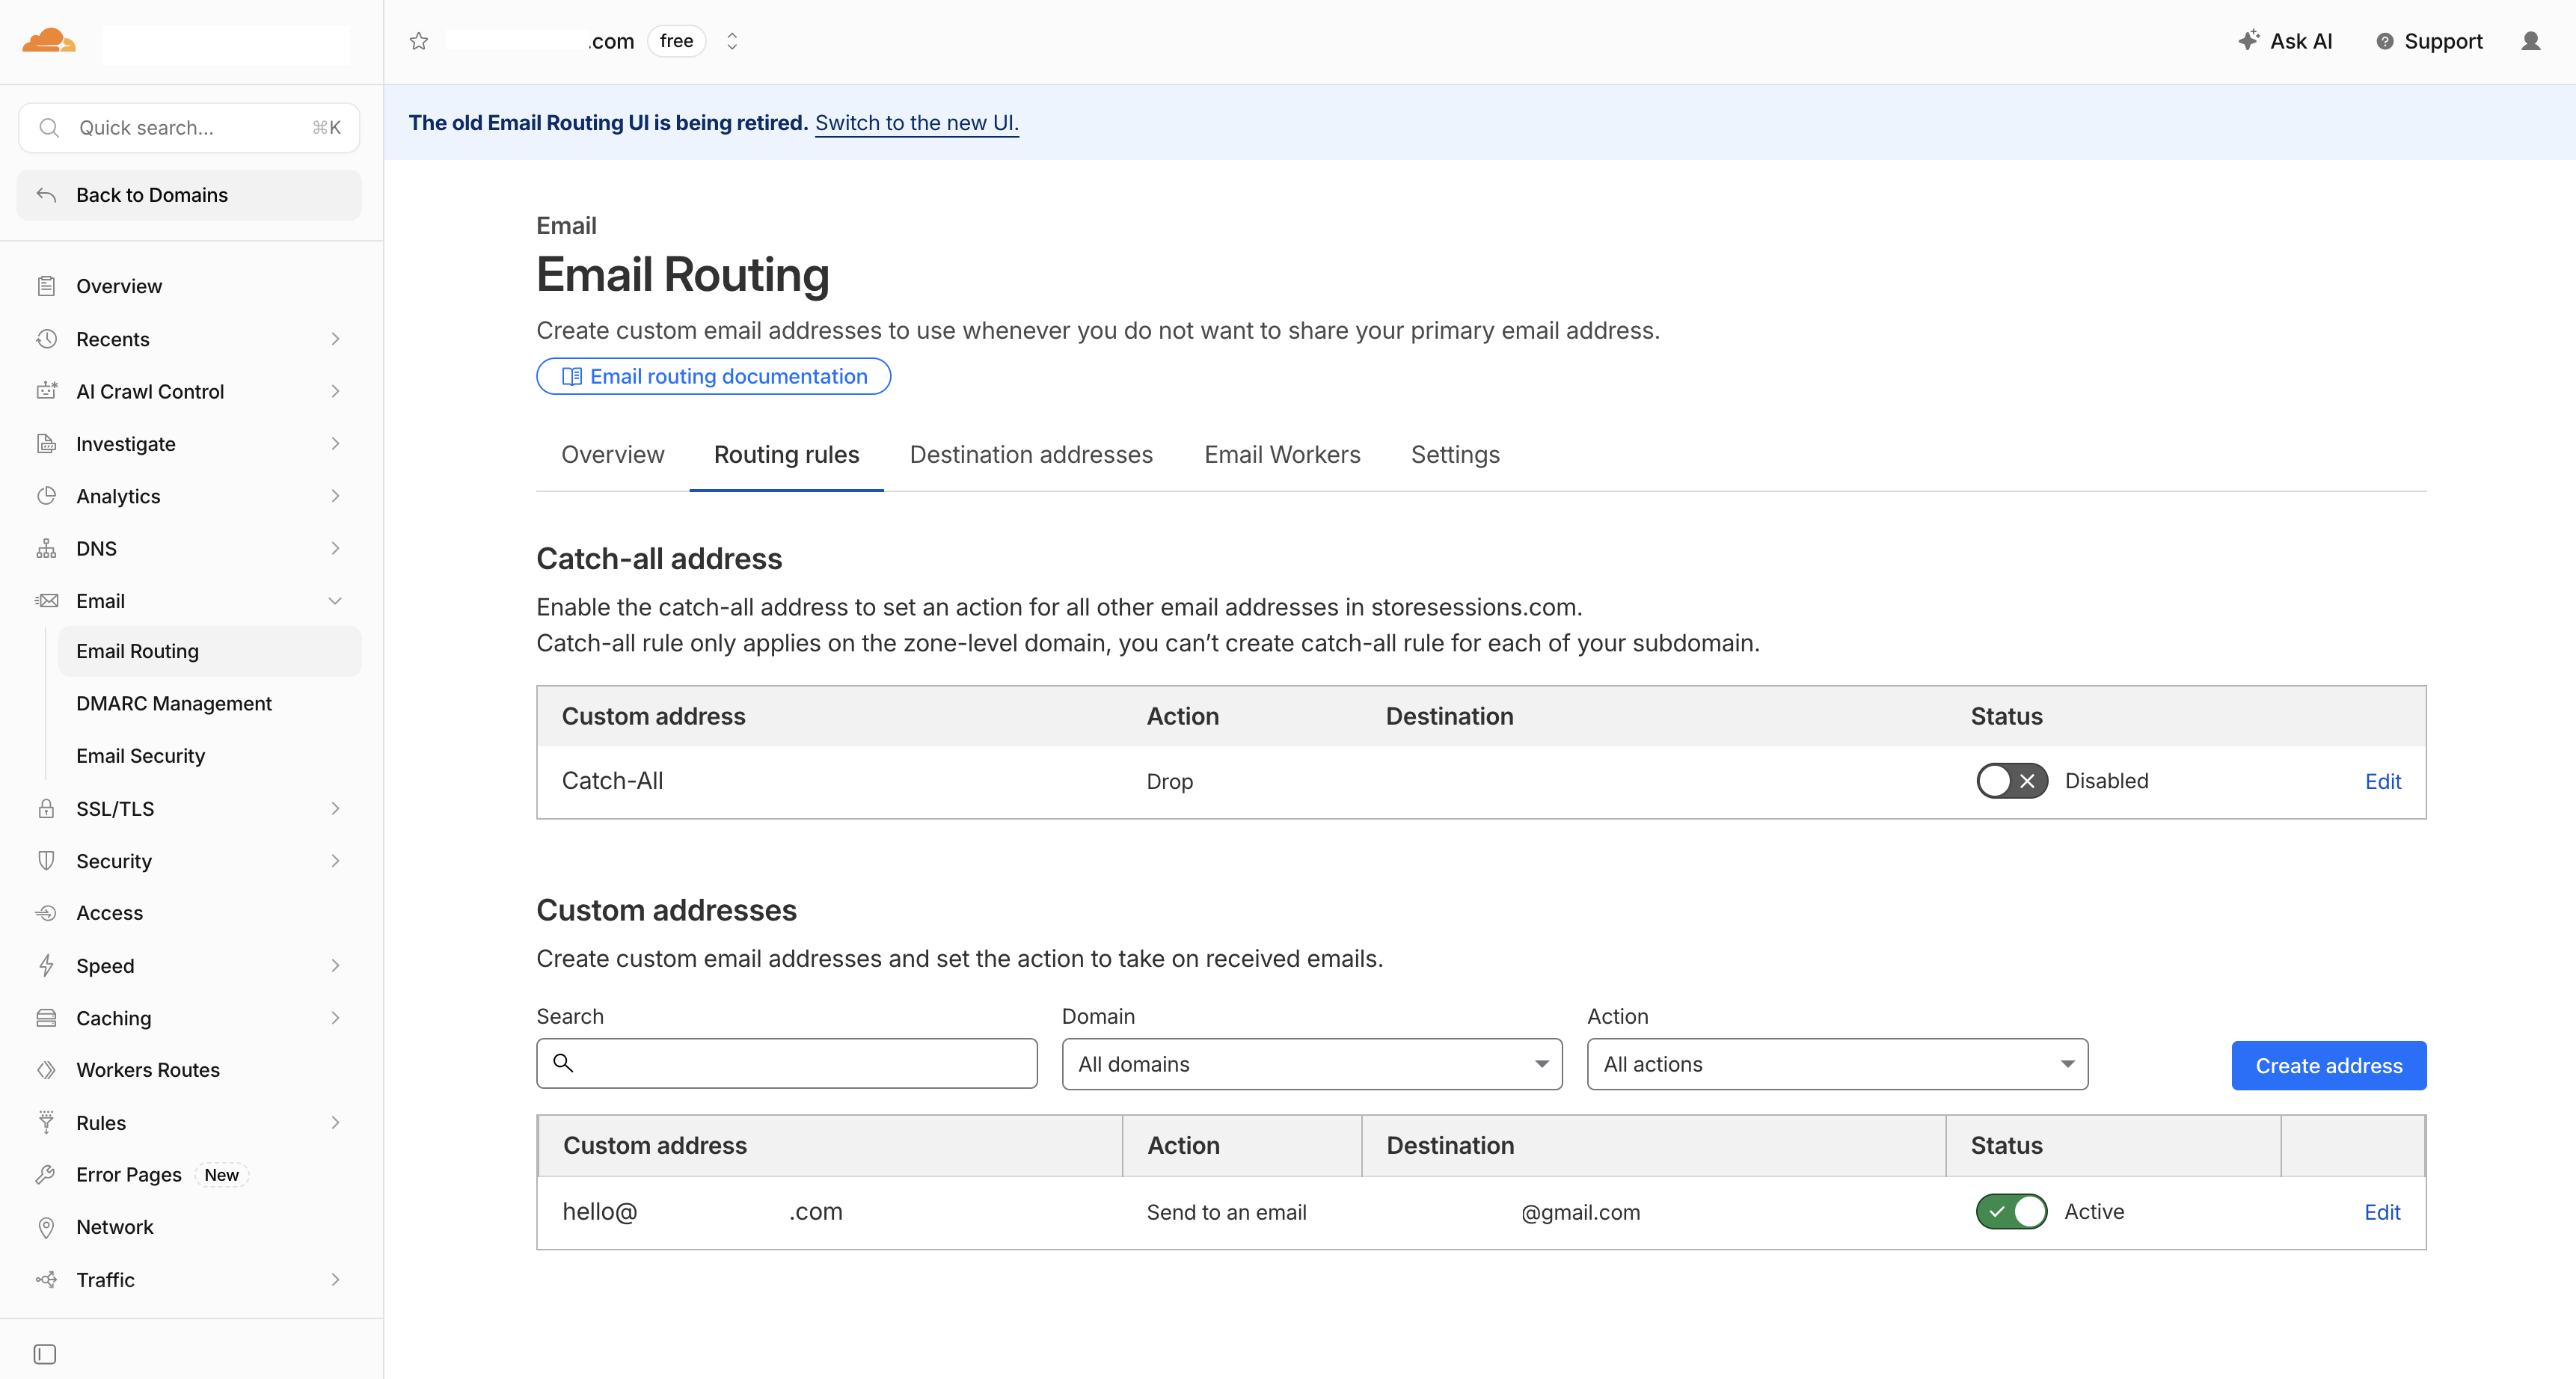
Enter in your new email address, and select the destination email address you just added. Hit "Save".
Step 7: Test Your Email
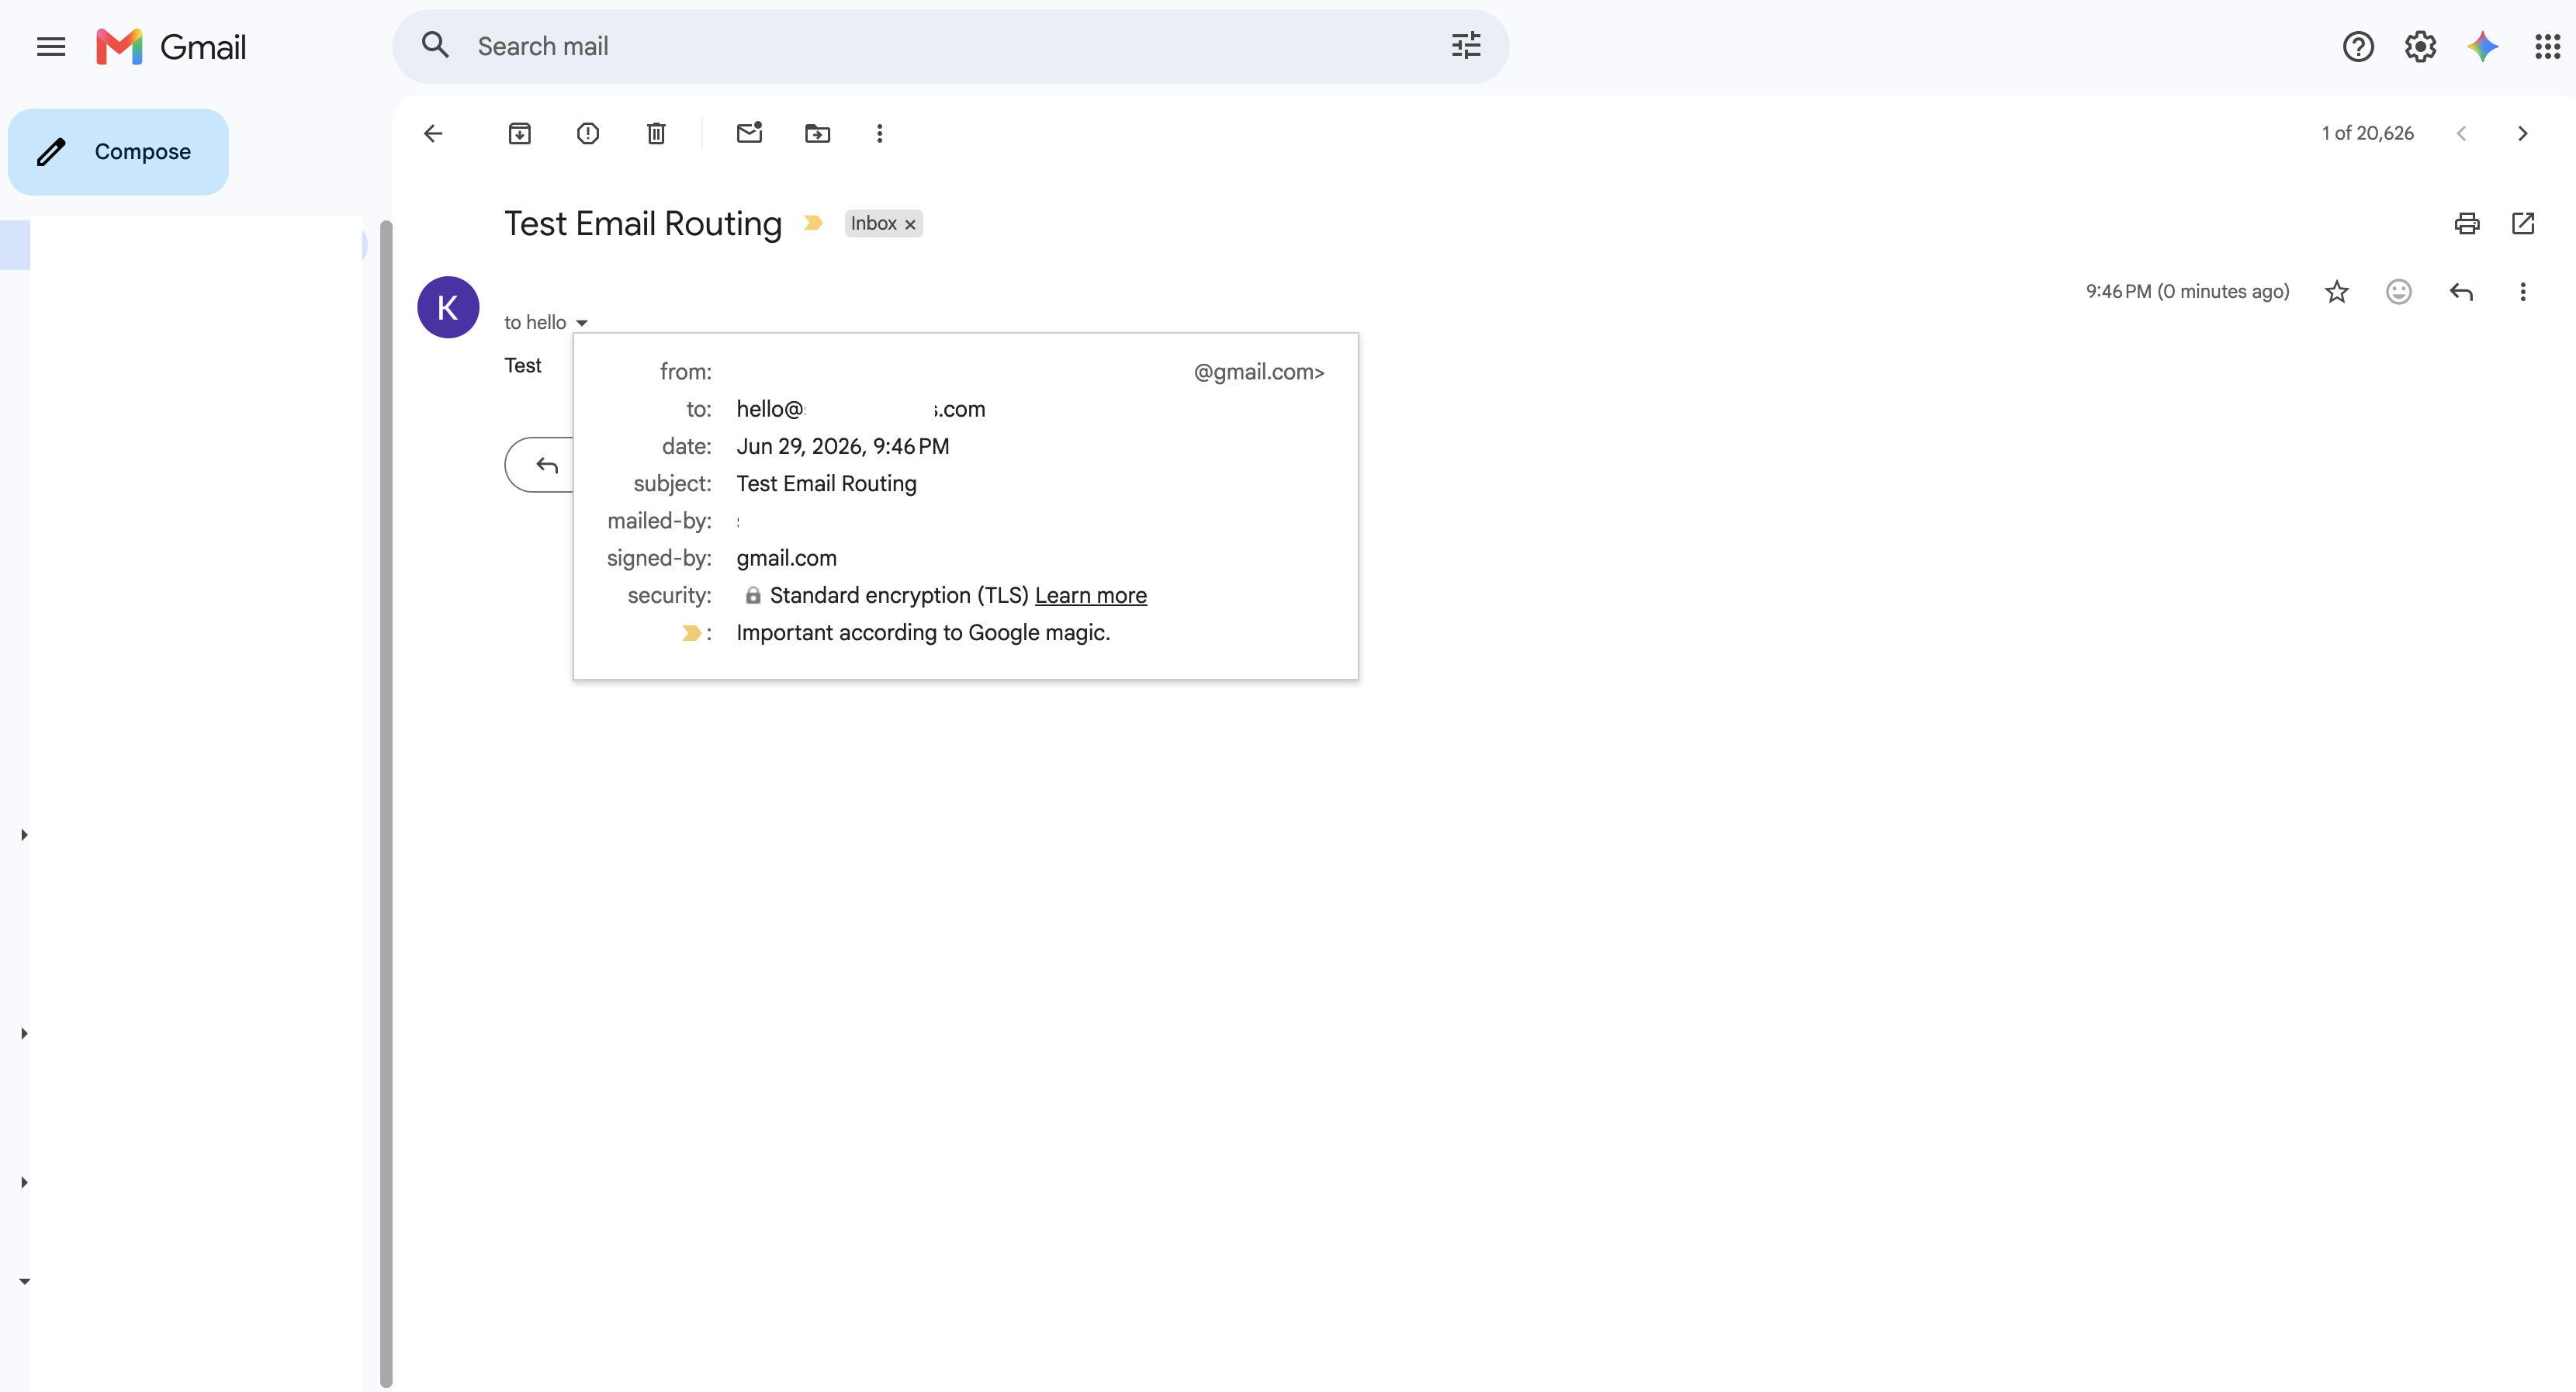
From another email address (that is not the destination email address), send an email to your new domain email address. You should receive the email in your destination email address inbox. If you don't receive the email, check your spam folder. If you still don't see it, check your MX records and make sure they are setup correctly.
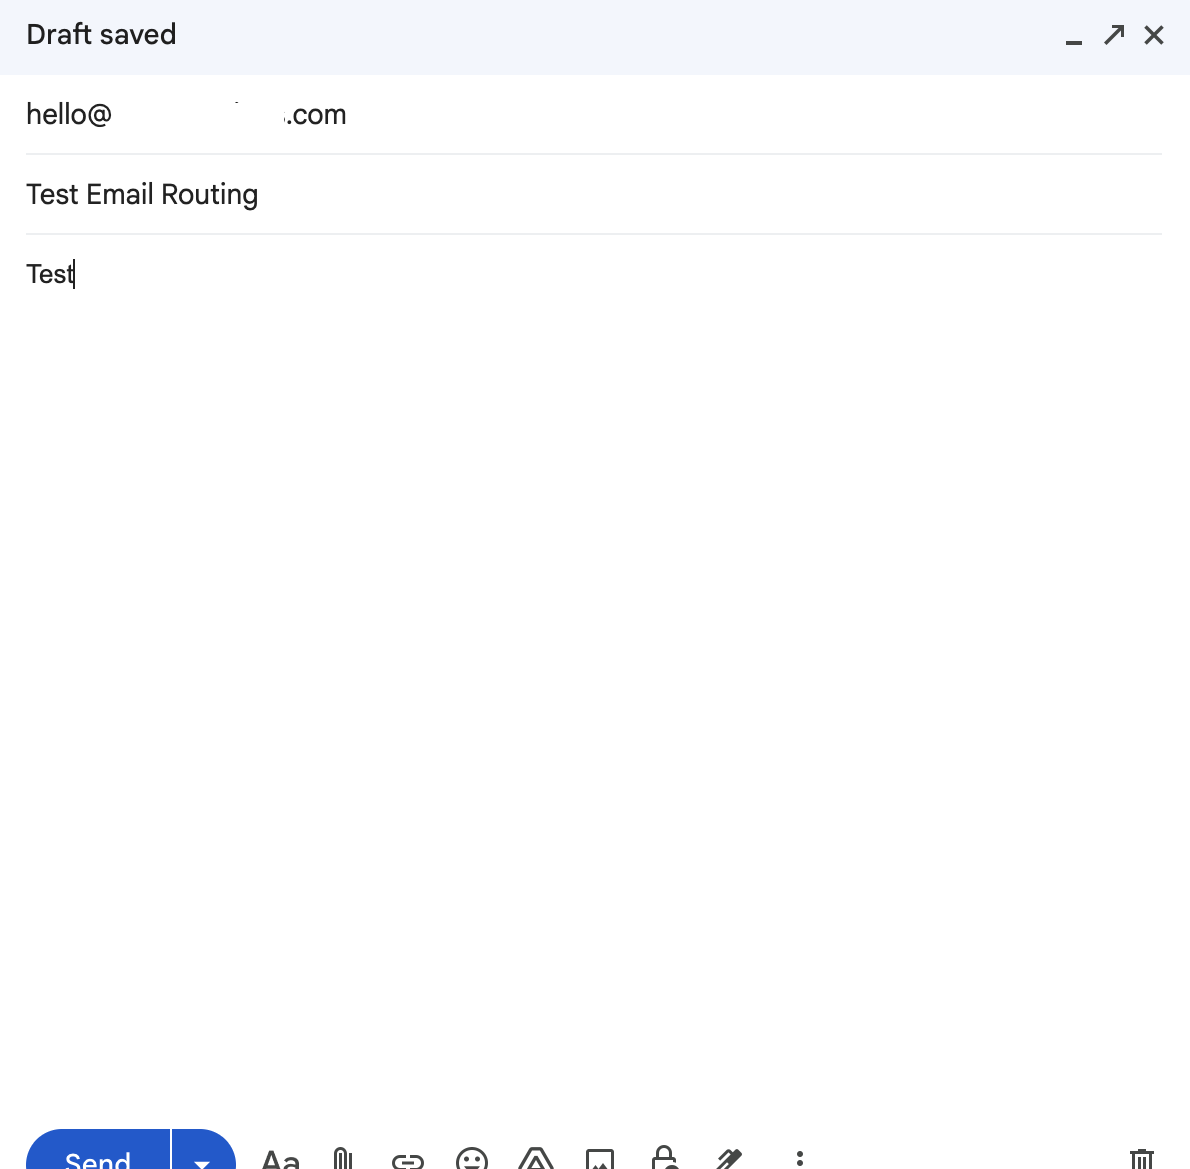
You should see the email in your destination email address inbox.
Step 8: Send Emails from Your Domain Email Address
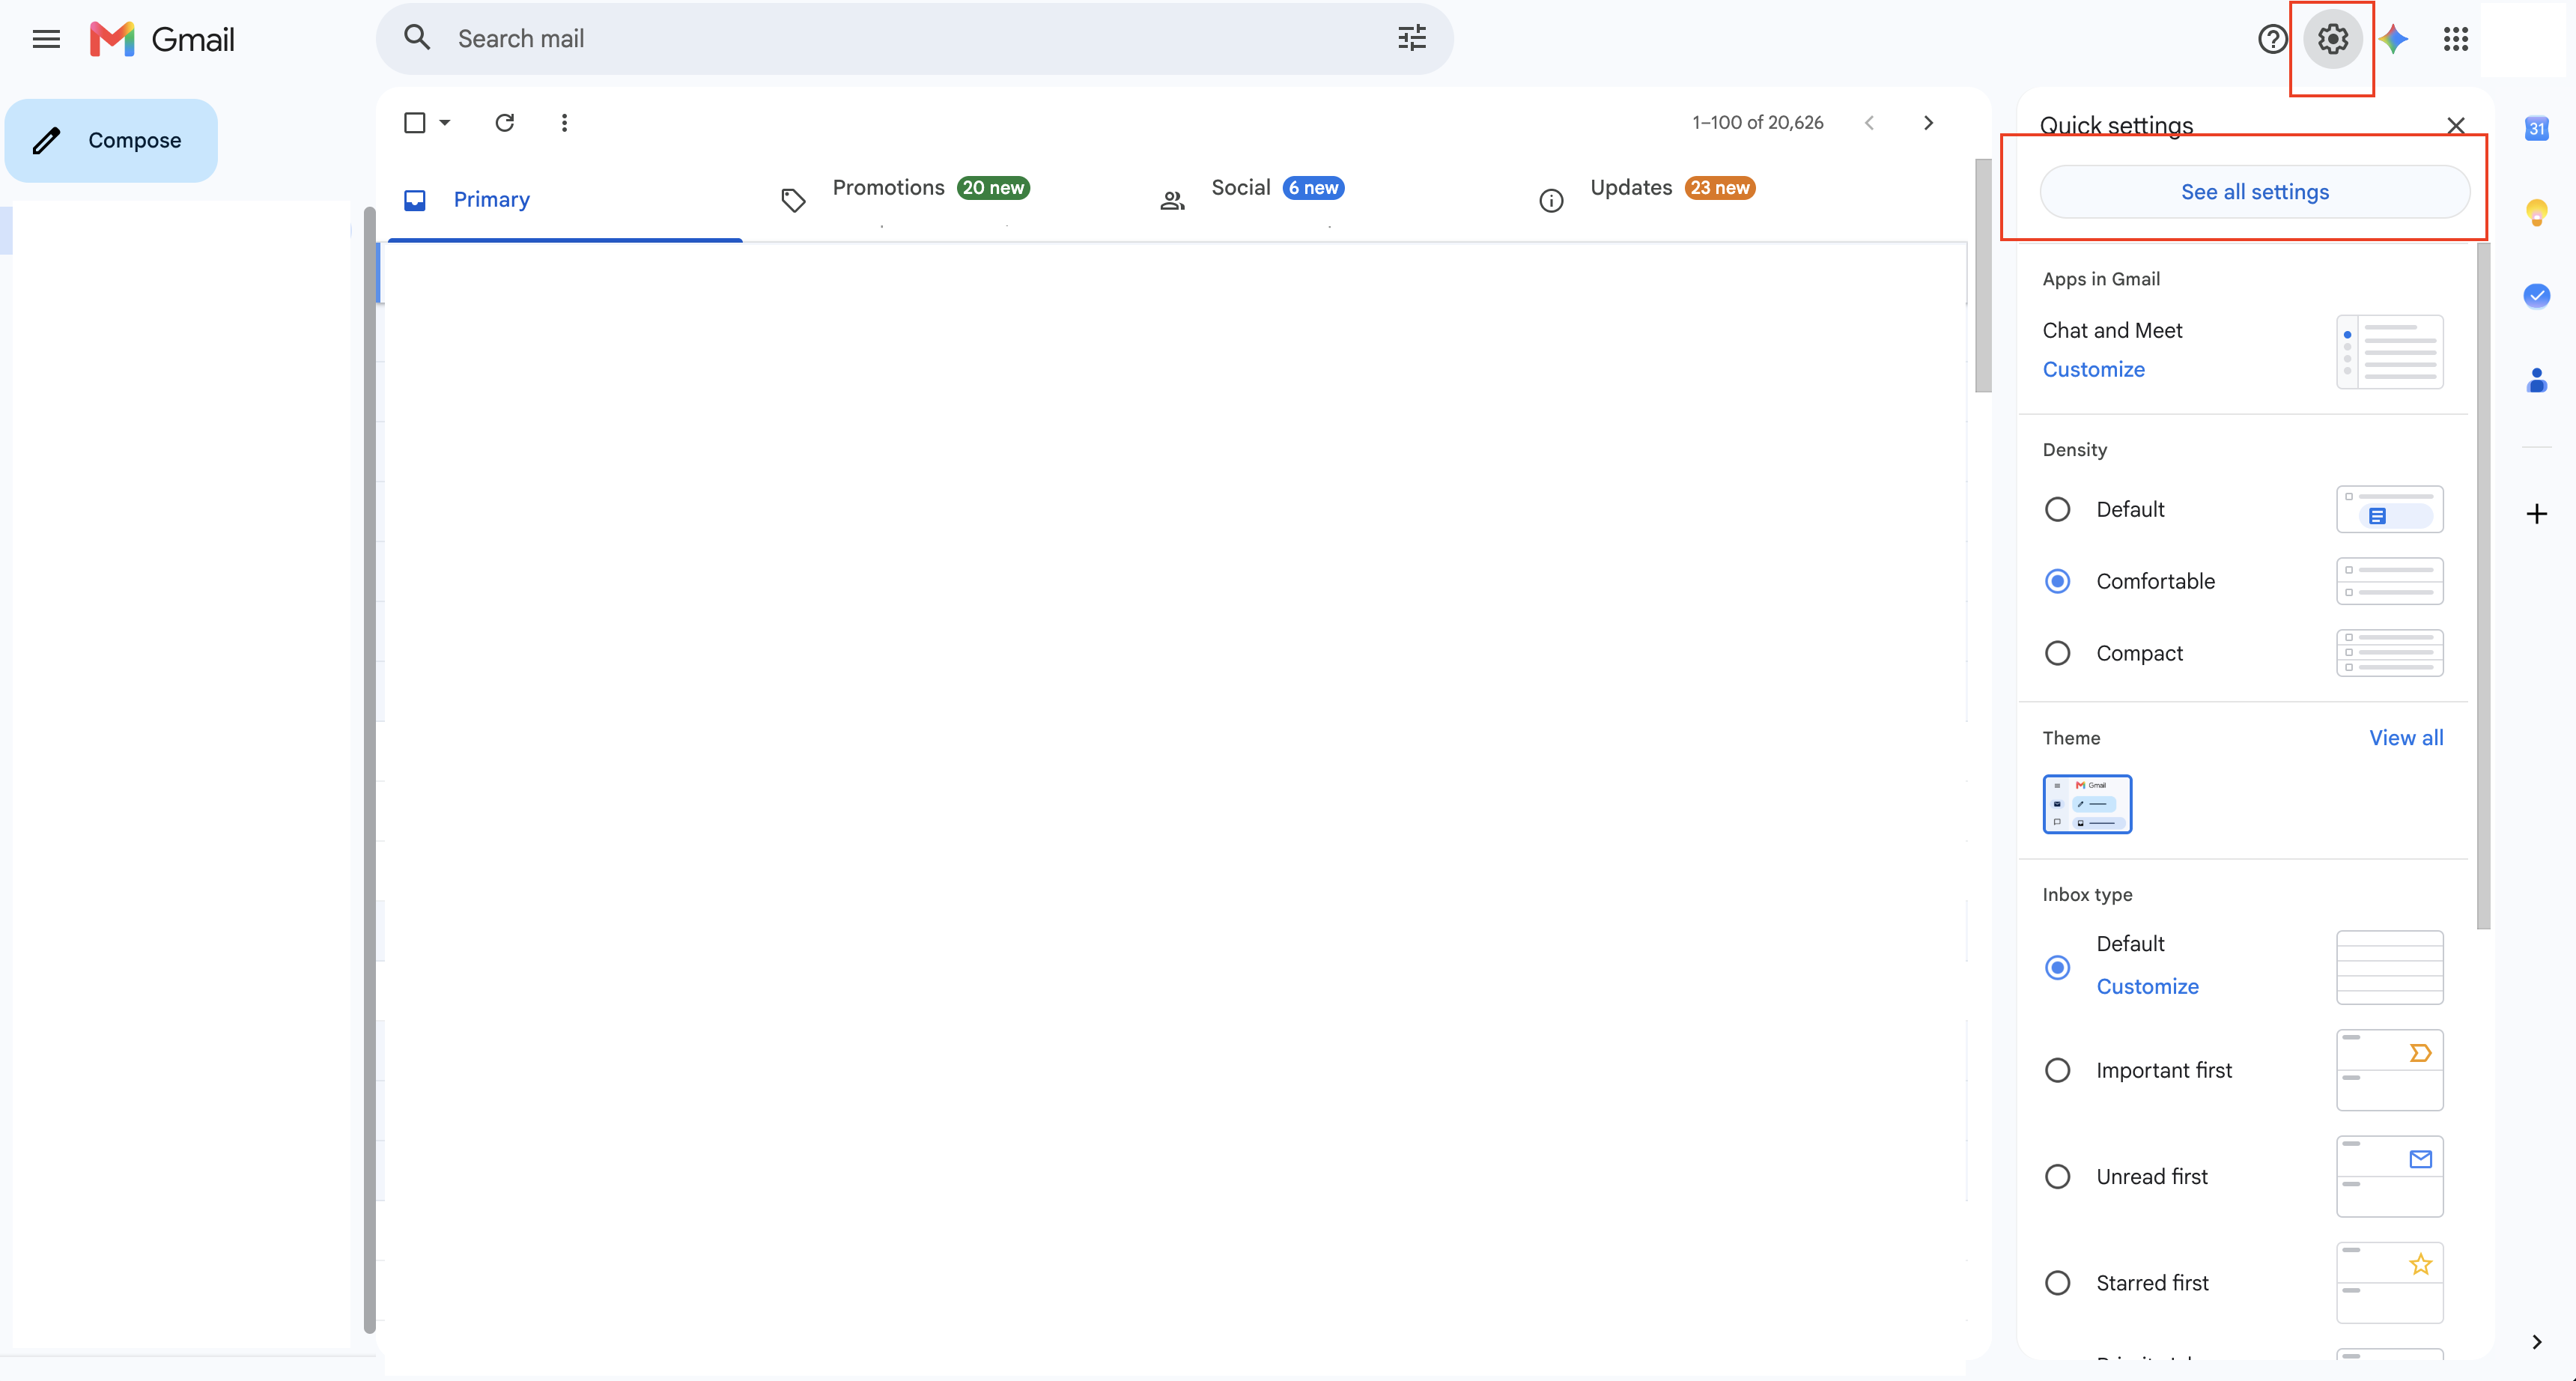
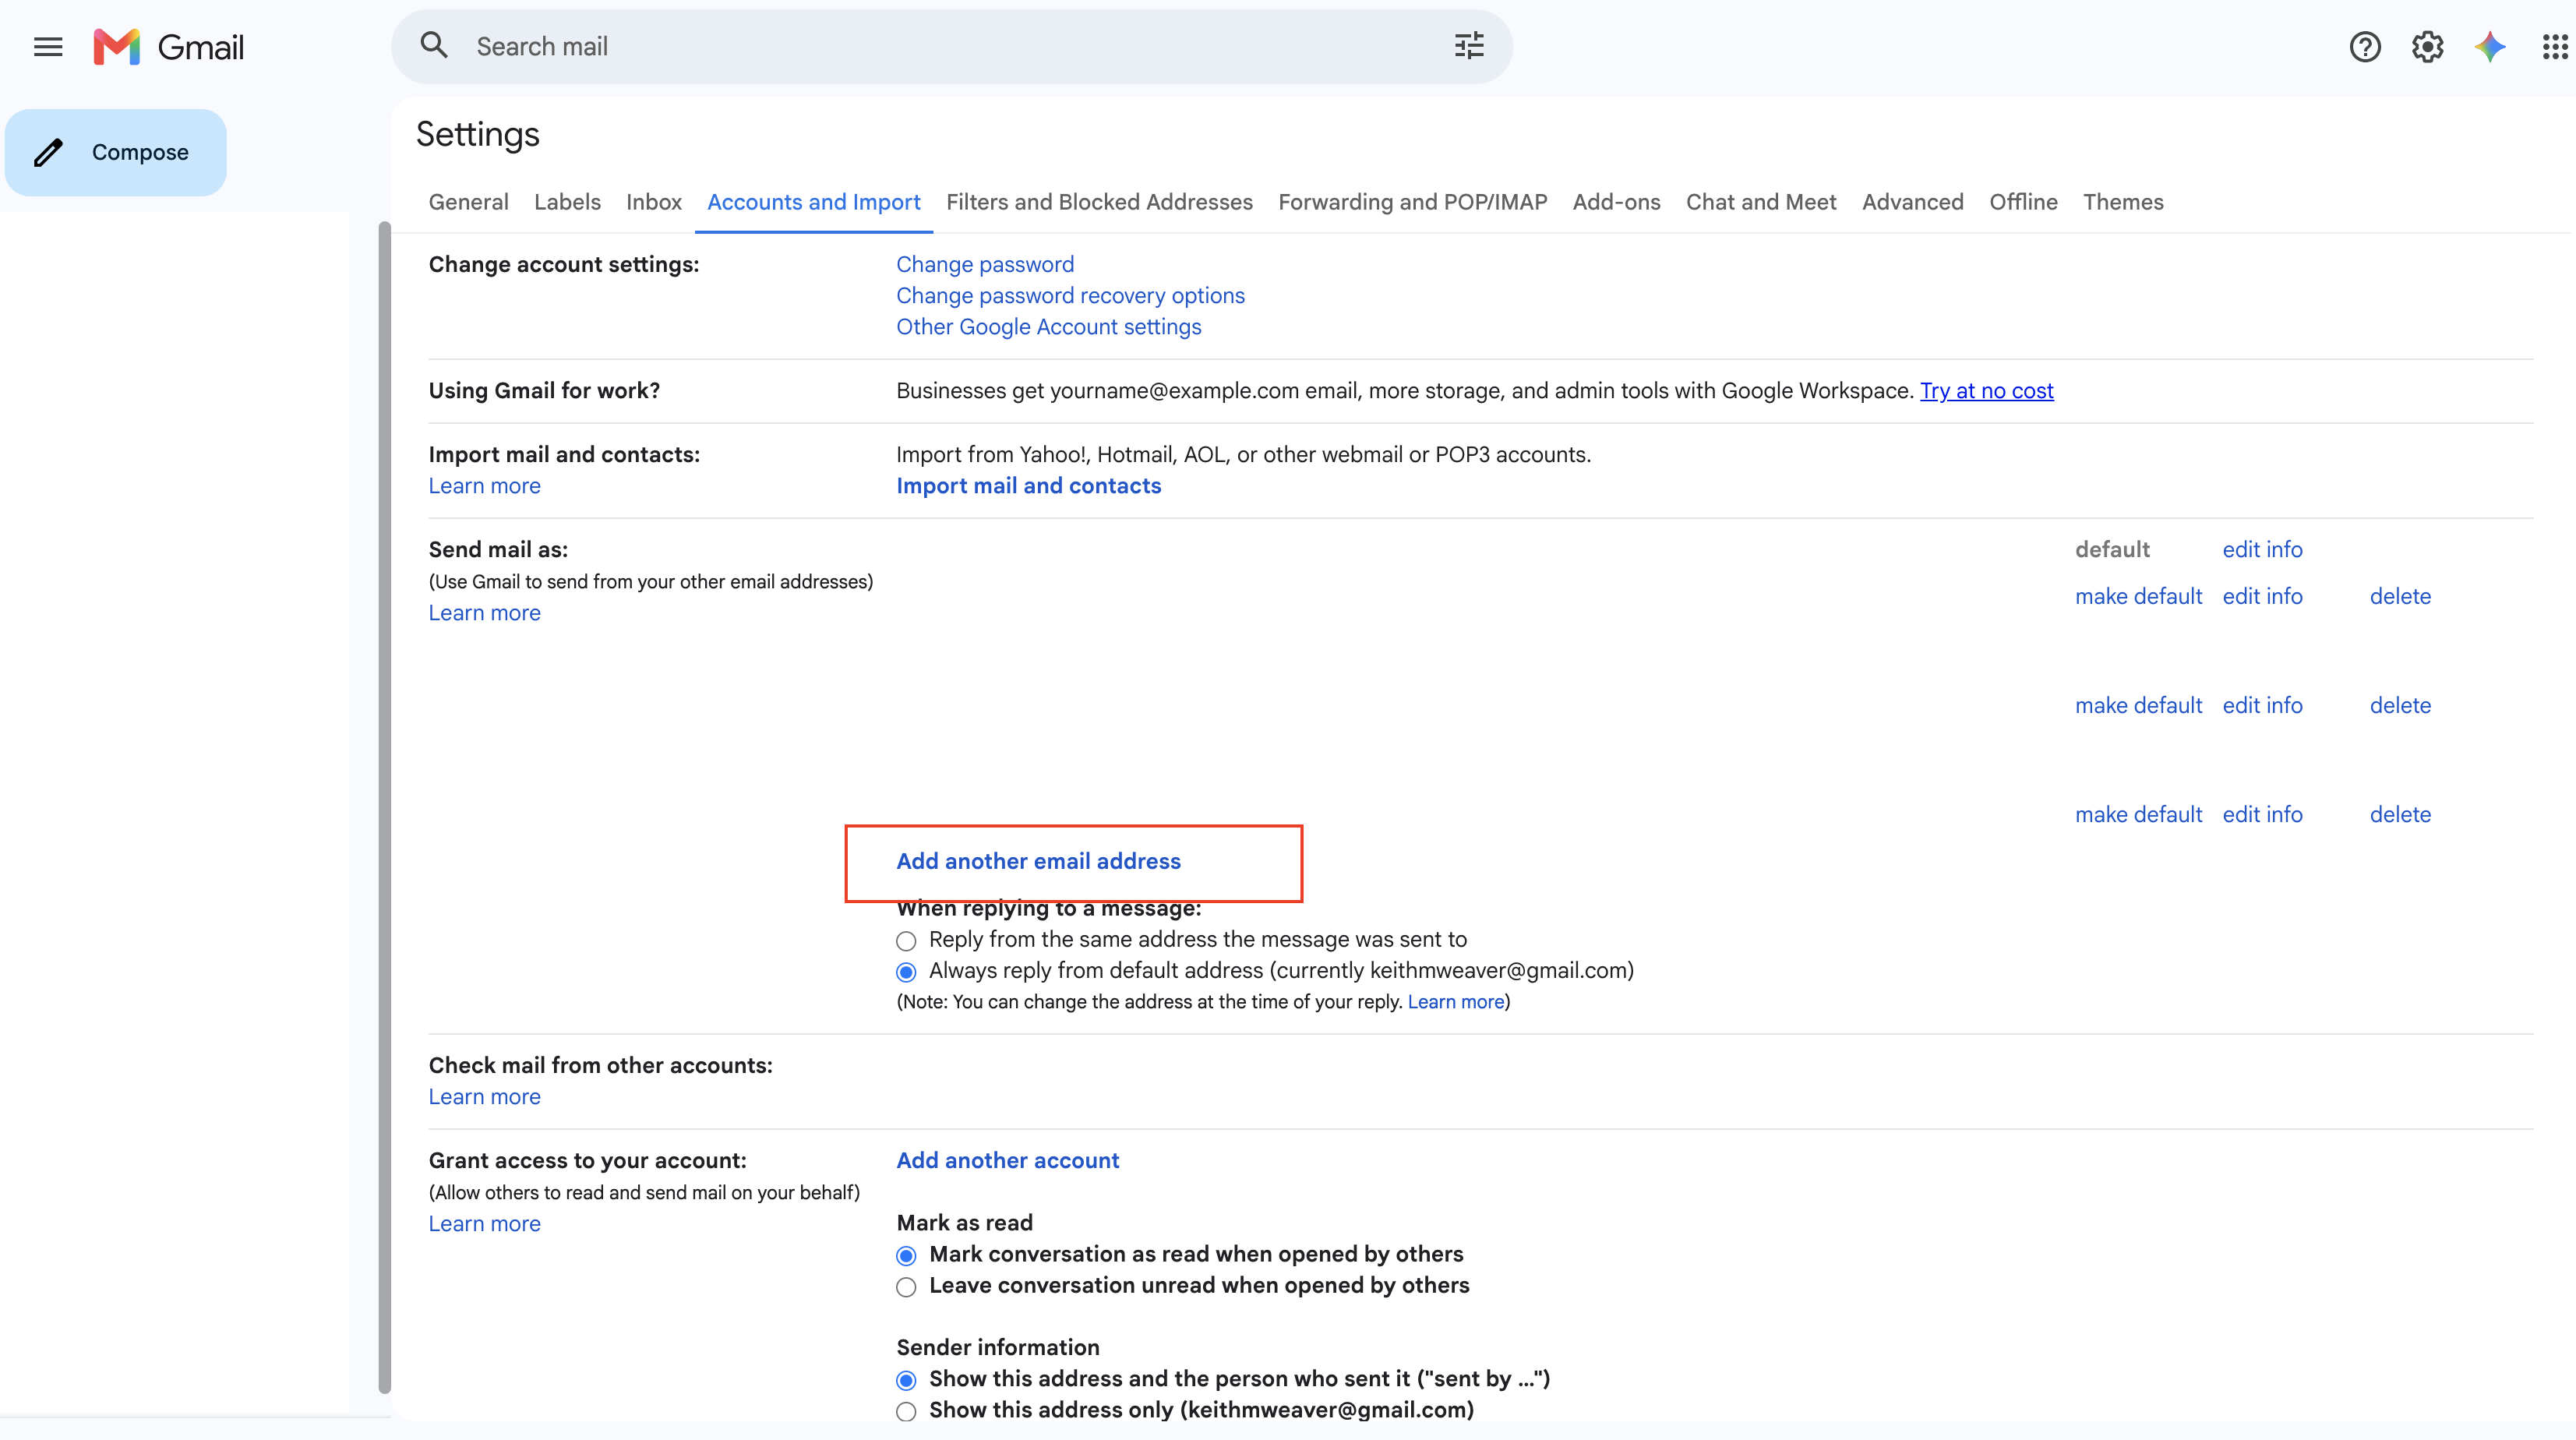
Within your Gmail account, navigate to Settings > See all settings > Accounts and Import. Under "Send mail as", hit "Add another email address".
Step 9: Configure SMTP Settings
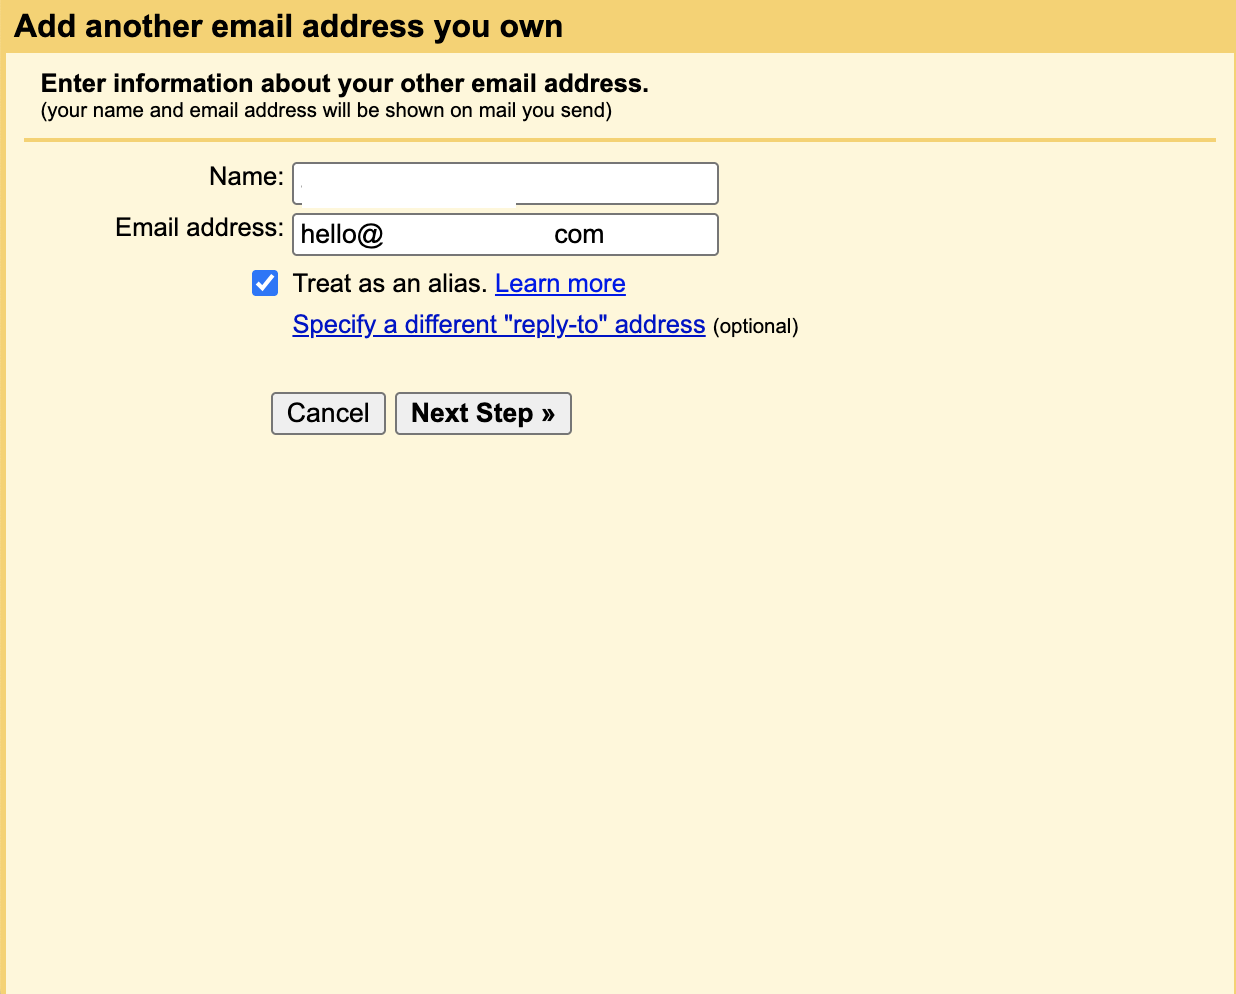
You will enter a name and the email address you want to send from. Hit "Next Step".
You will need to create an app password to use for the SMTP settings. Navigate to https://myaccount.google.com/apppasswords?, and create a new app password. This will be your password, so copy it somewhere safe. You will use this password in the next step.
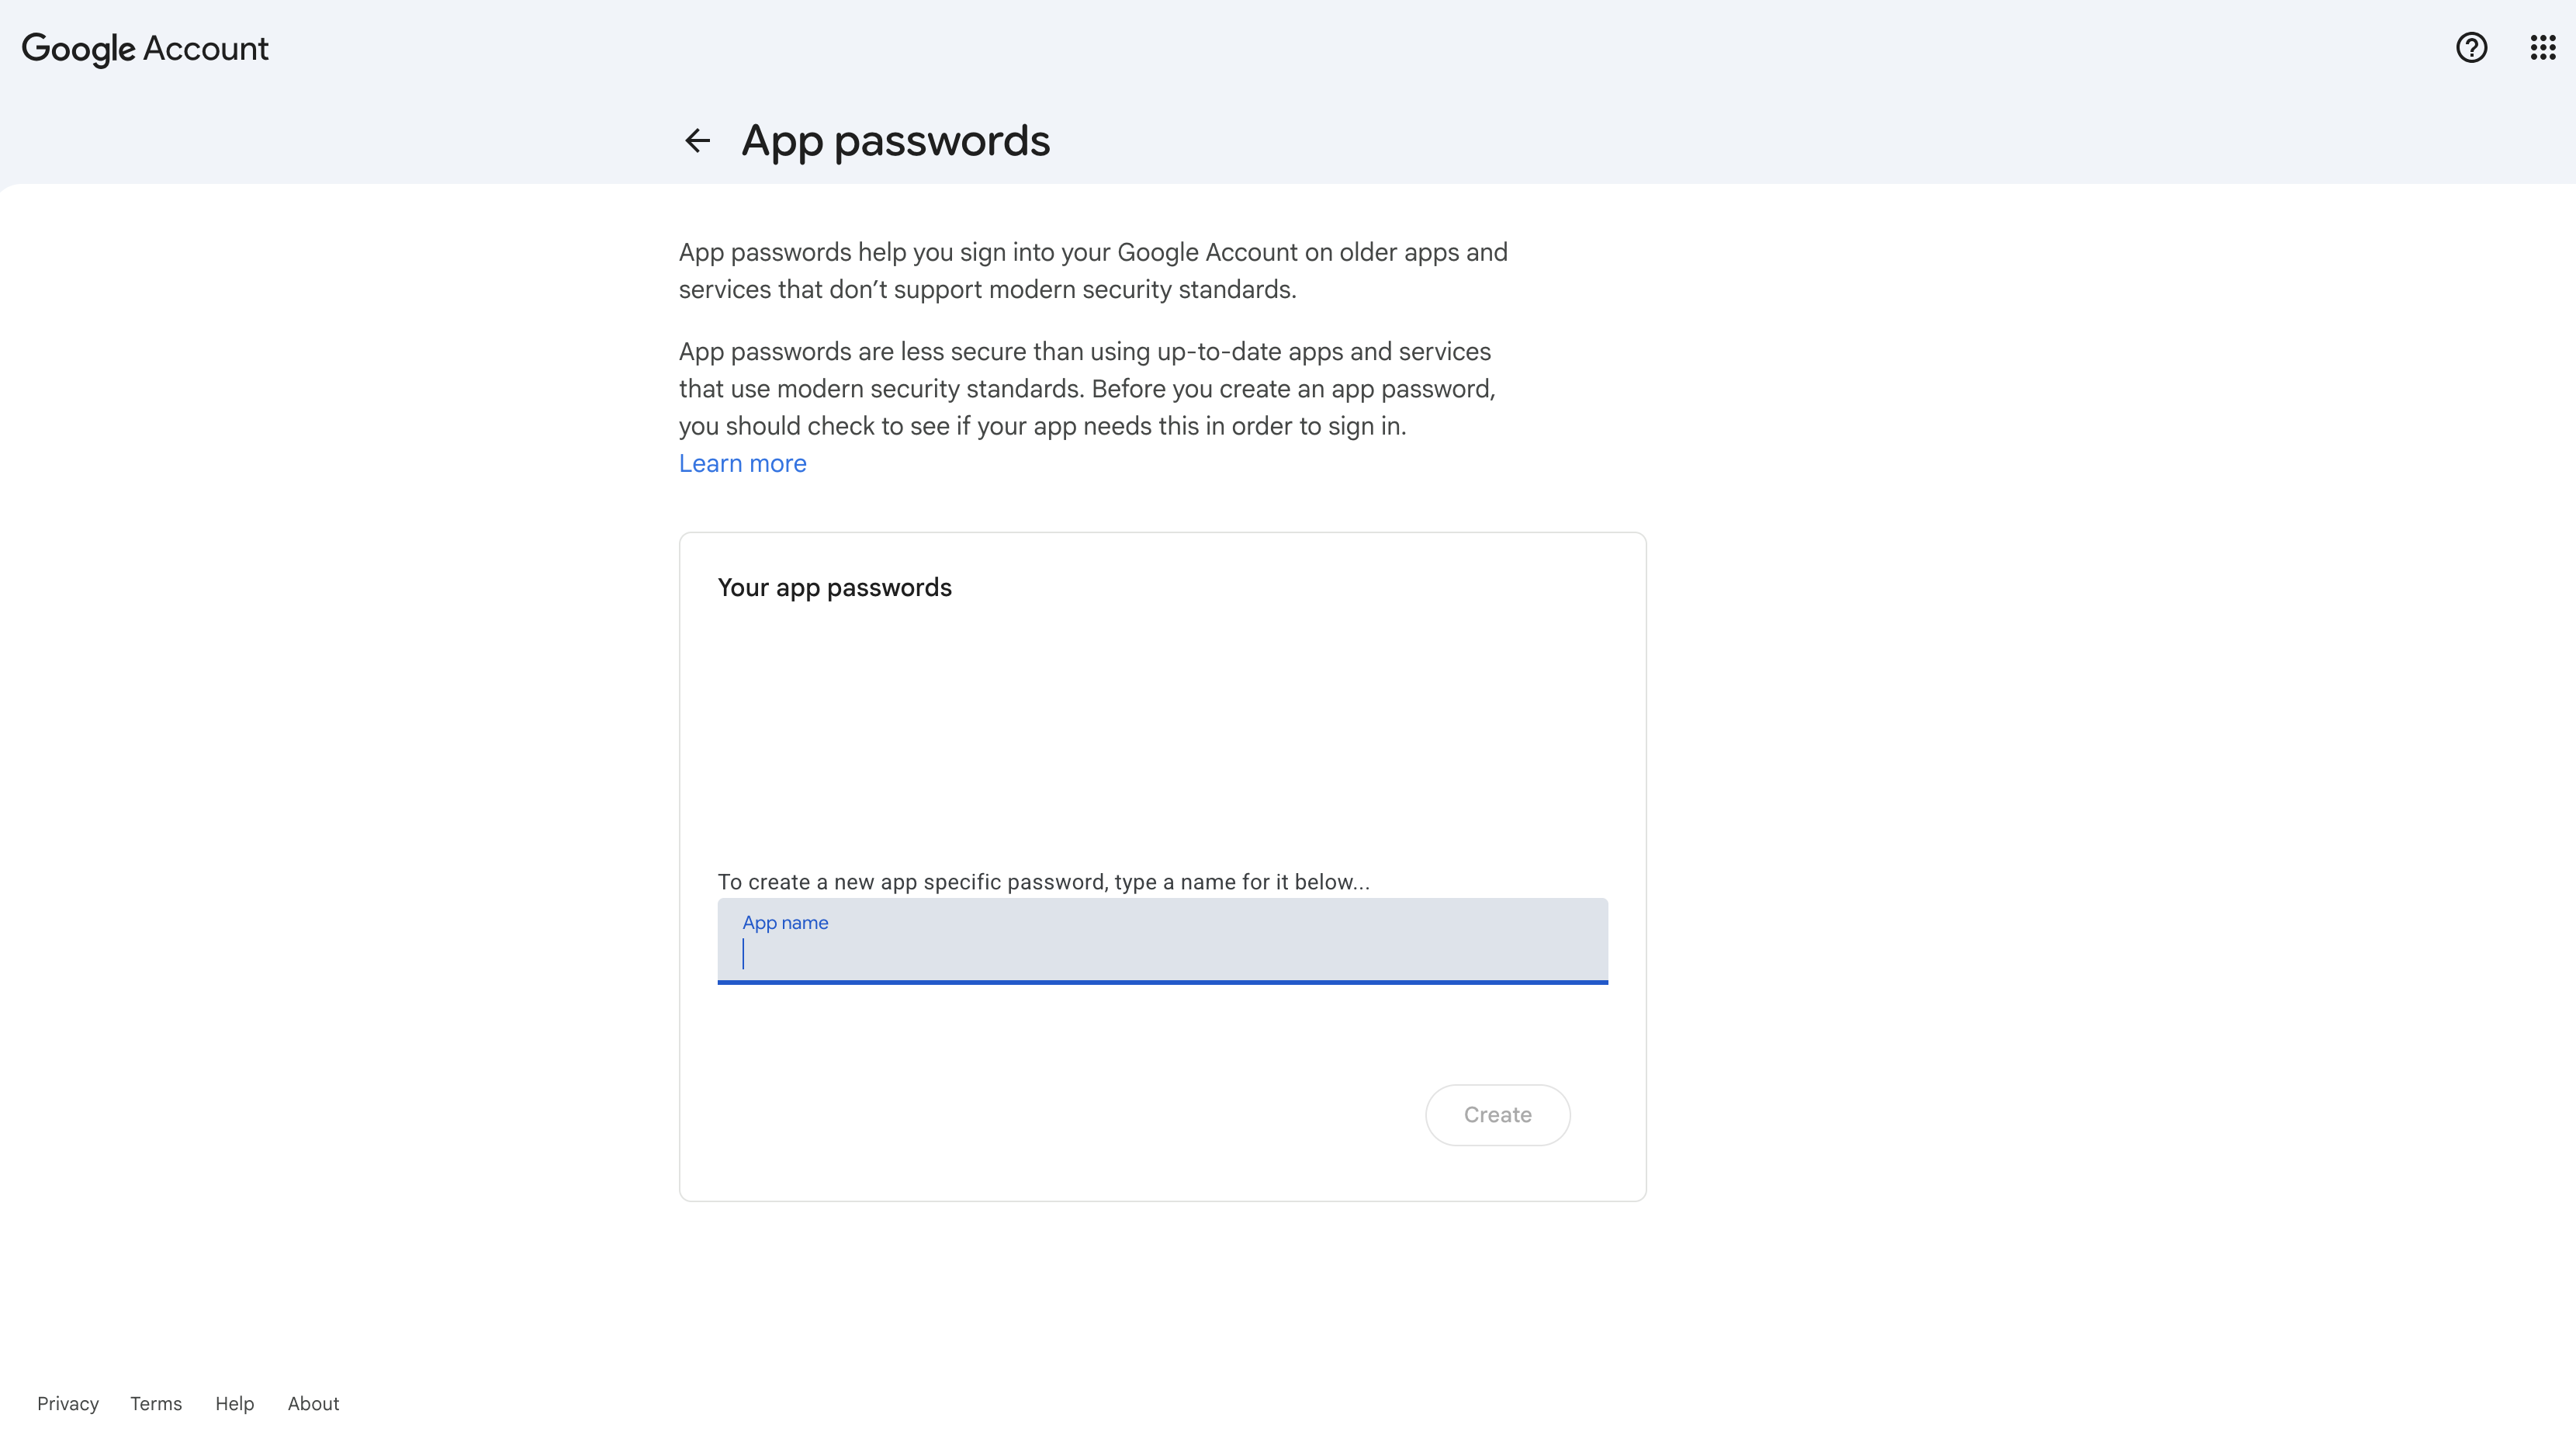
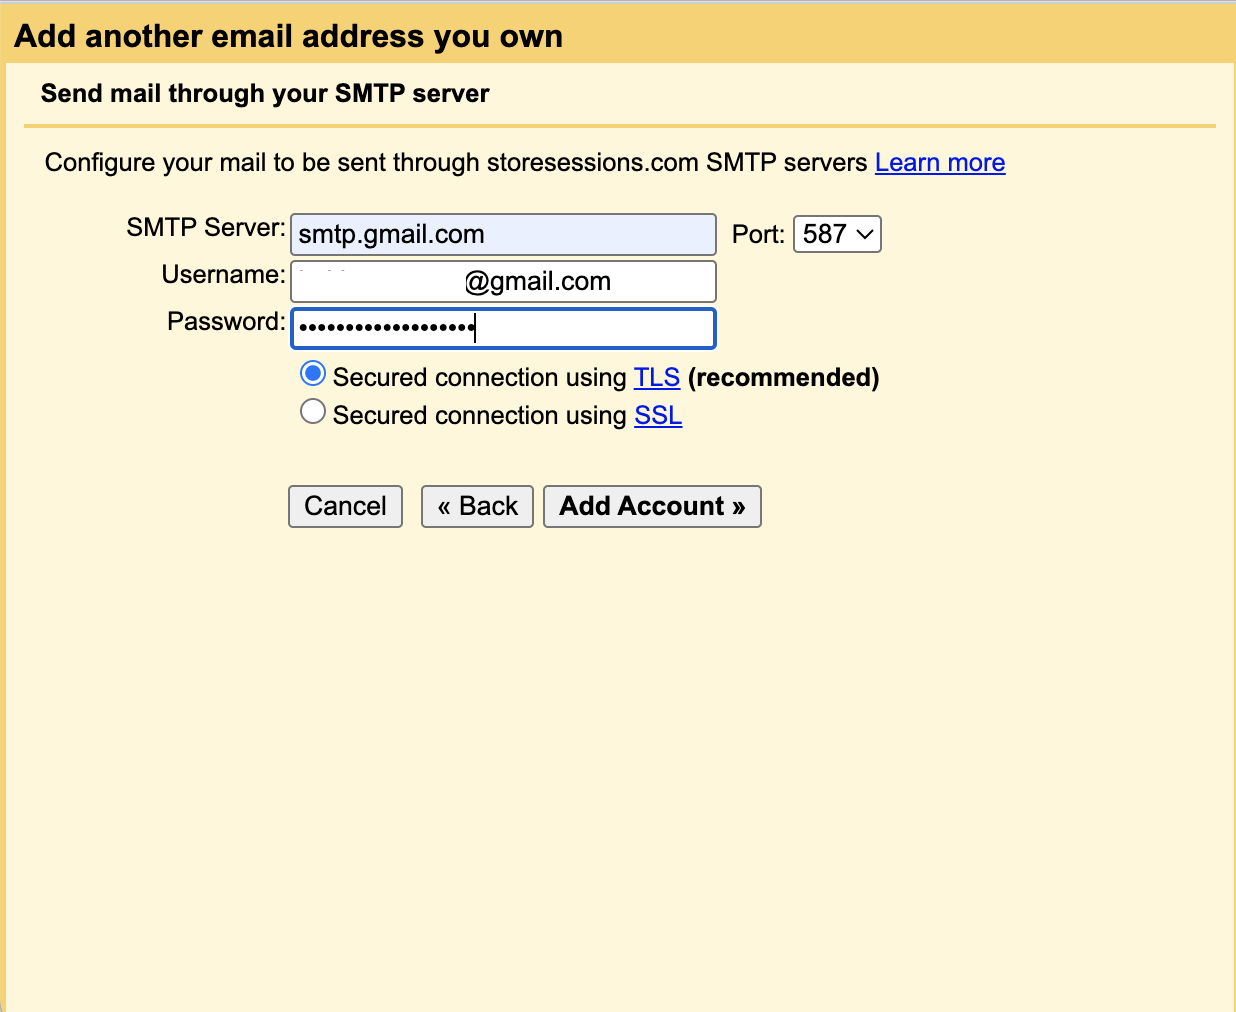
Update the SMTP settings with the following information:
SMTP: smtp.gmail.com
Port: 587
Username: your Gmail address
Password: the app password you just created
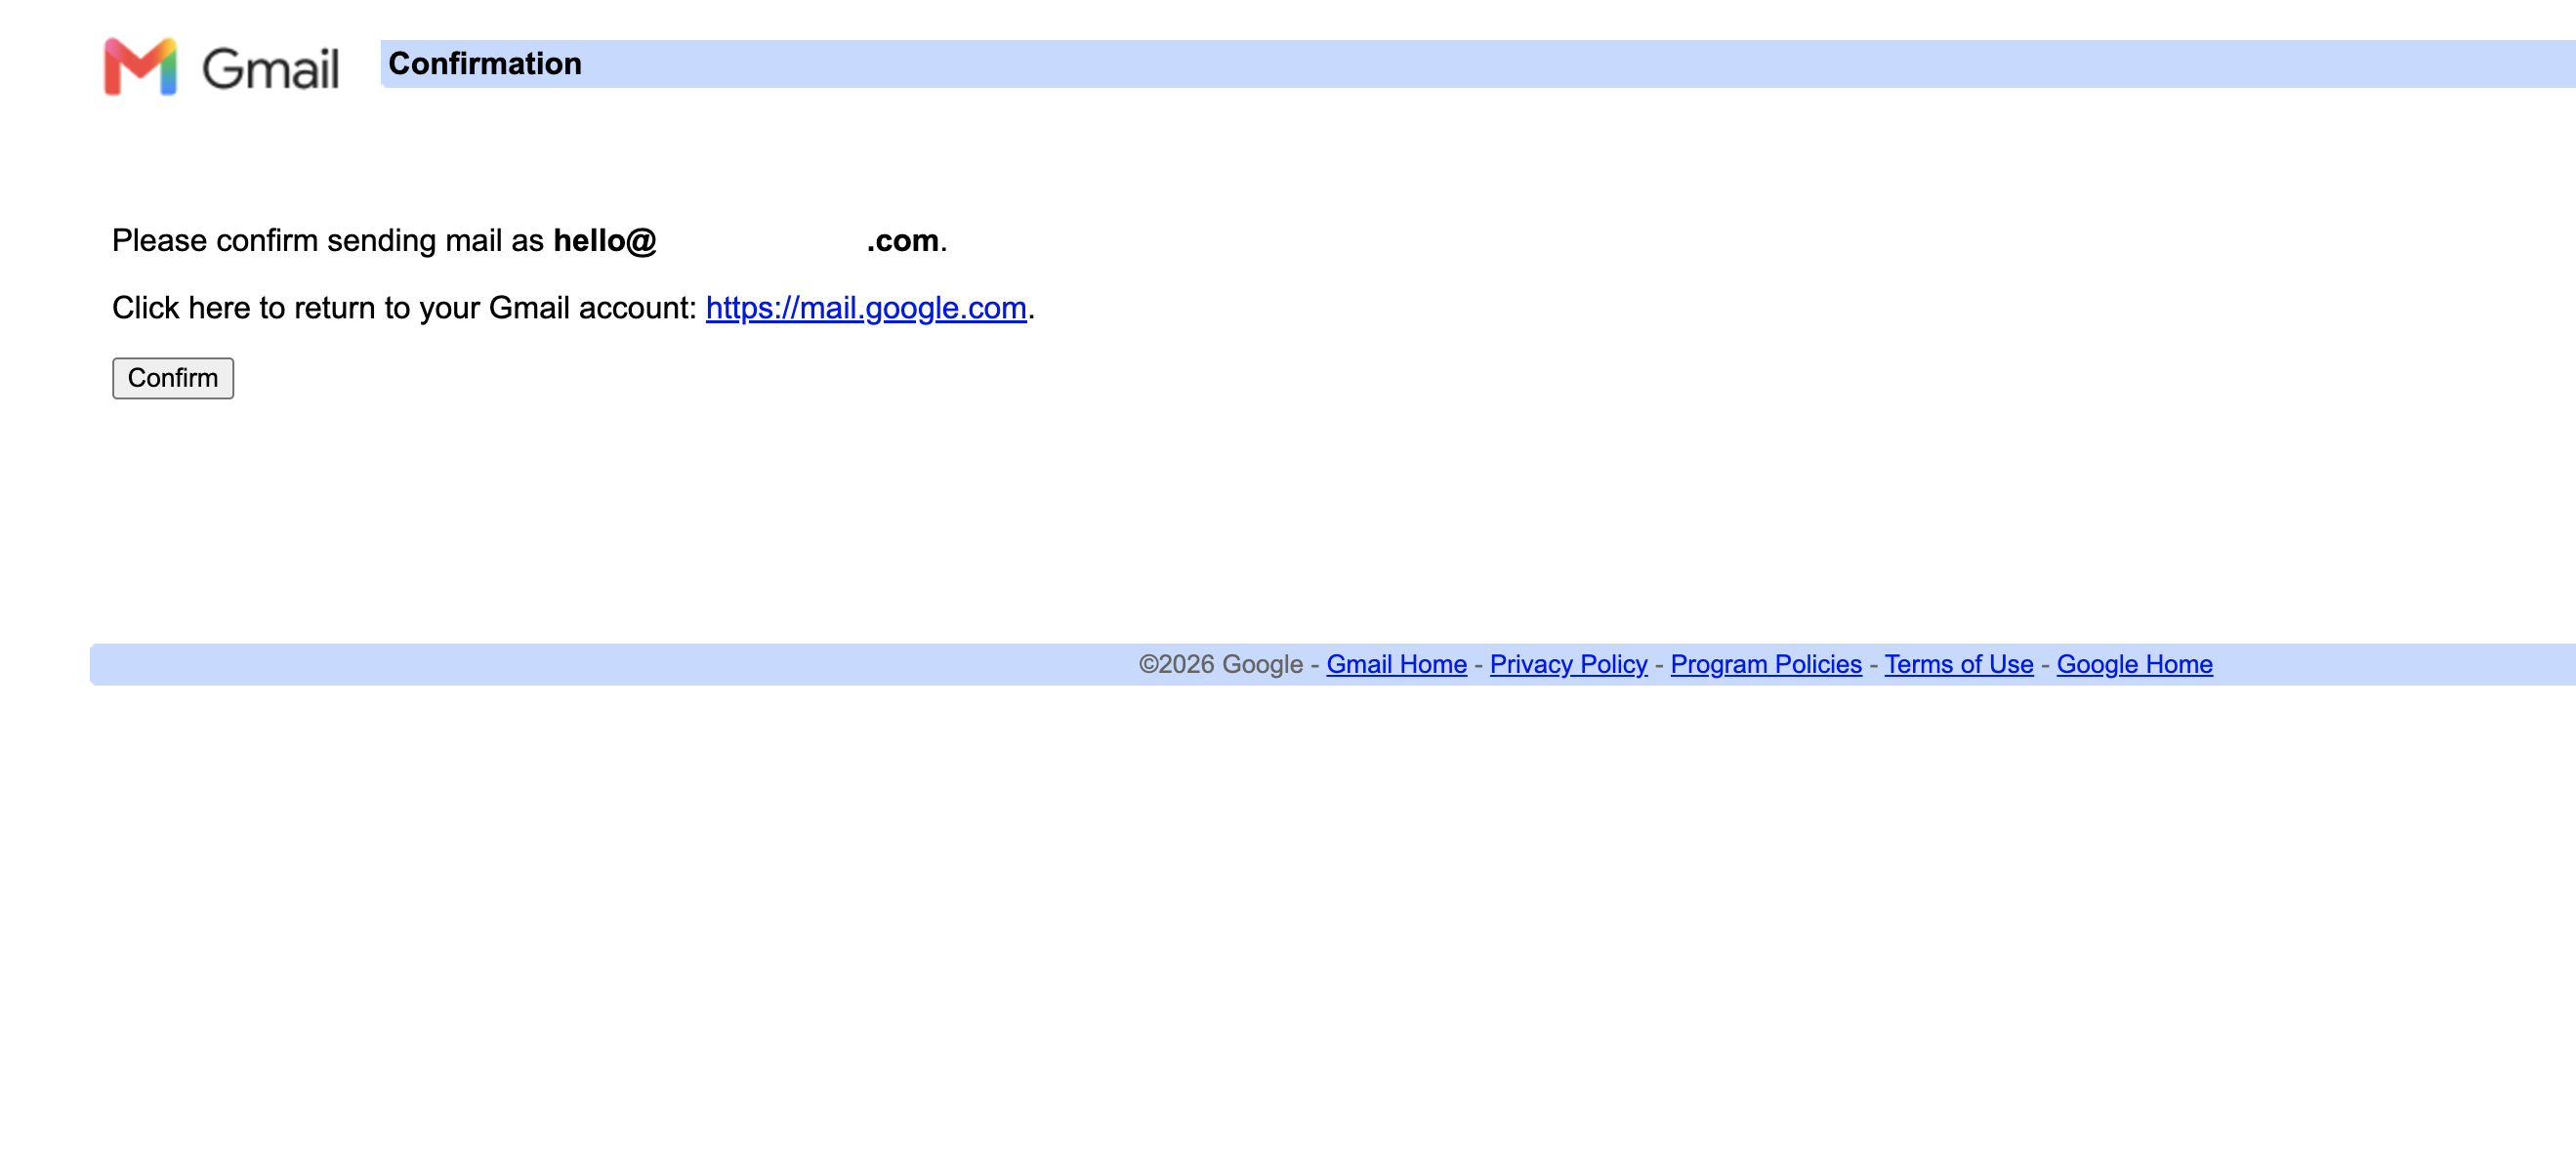
You will be sent a verification email to your Gmail address. Check your email and click the link to verify your email address.
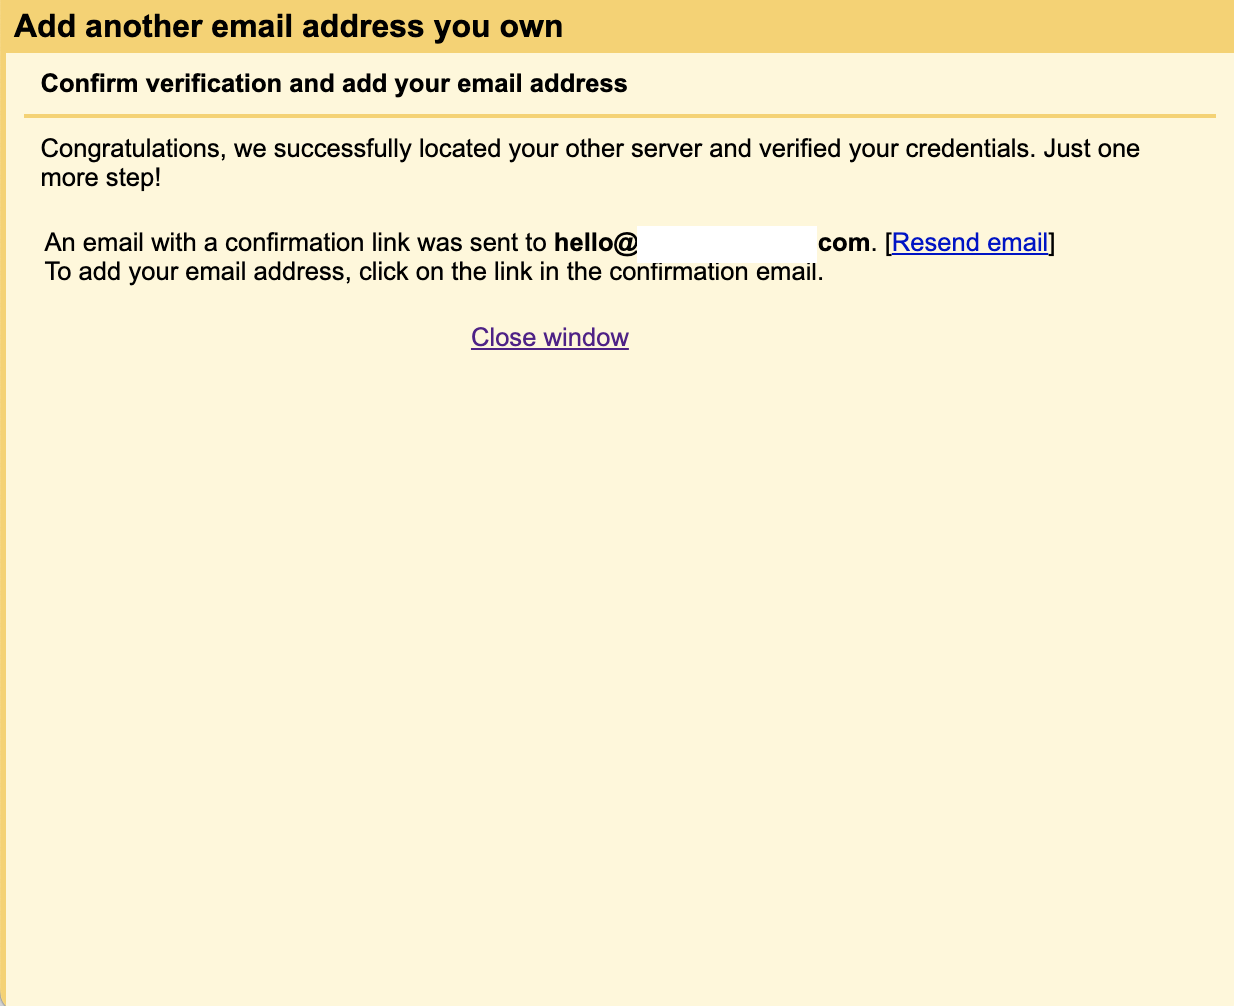
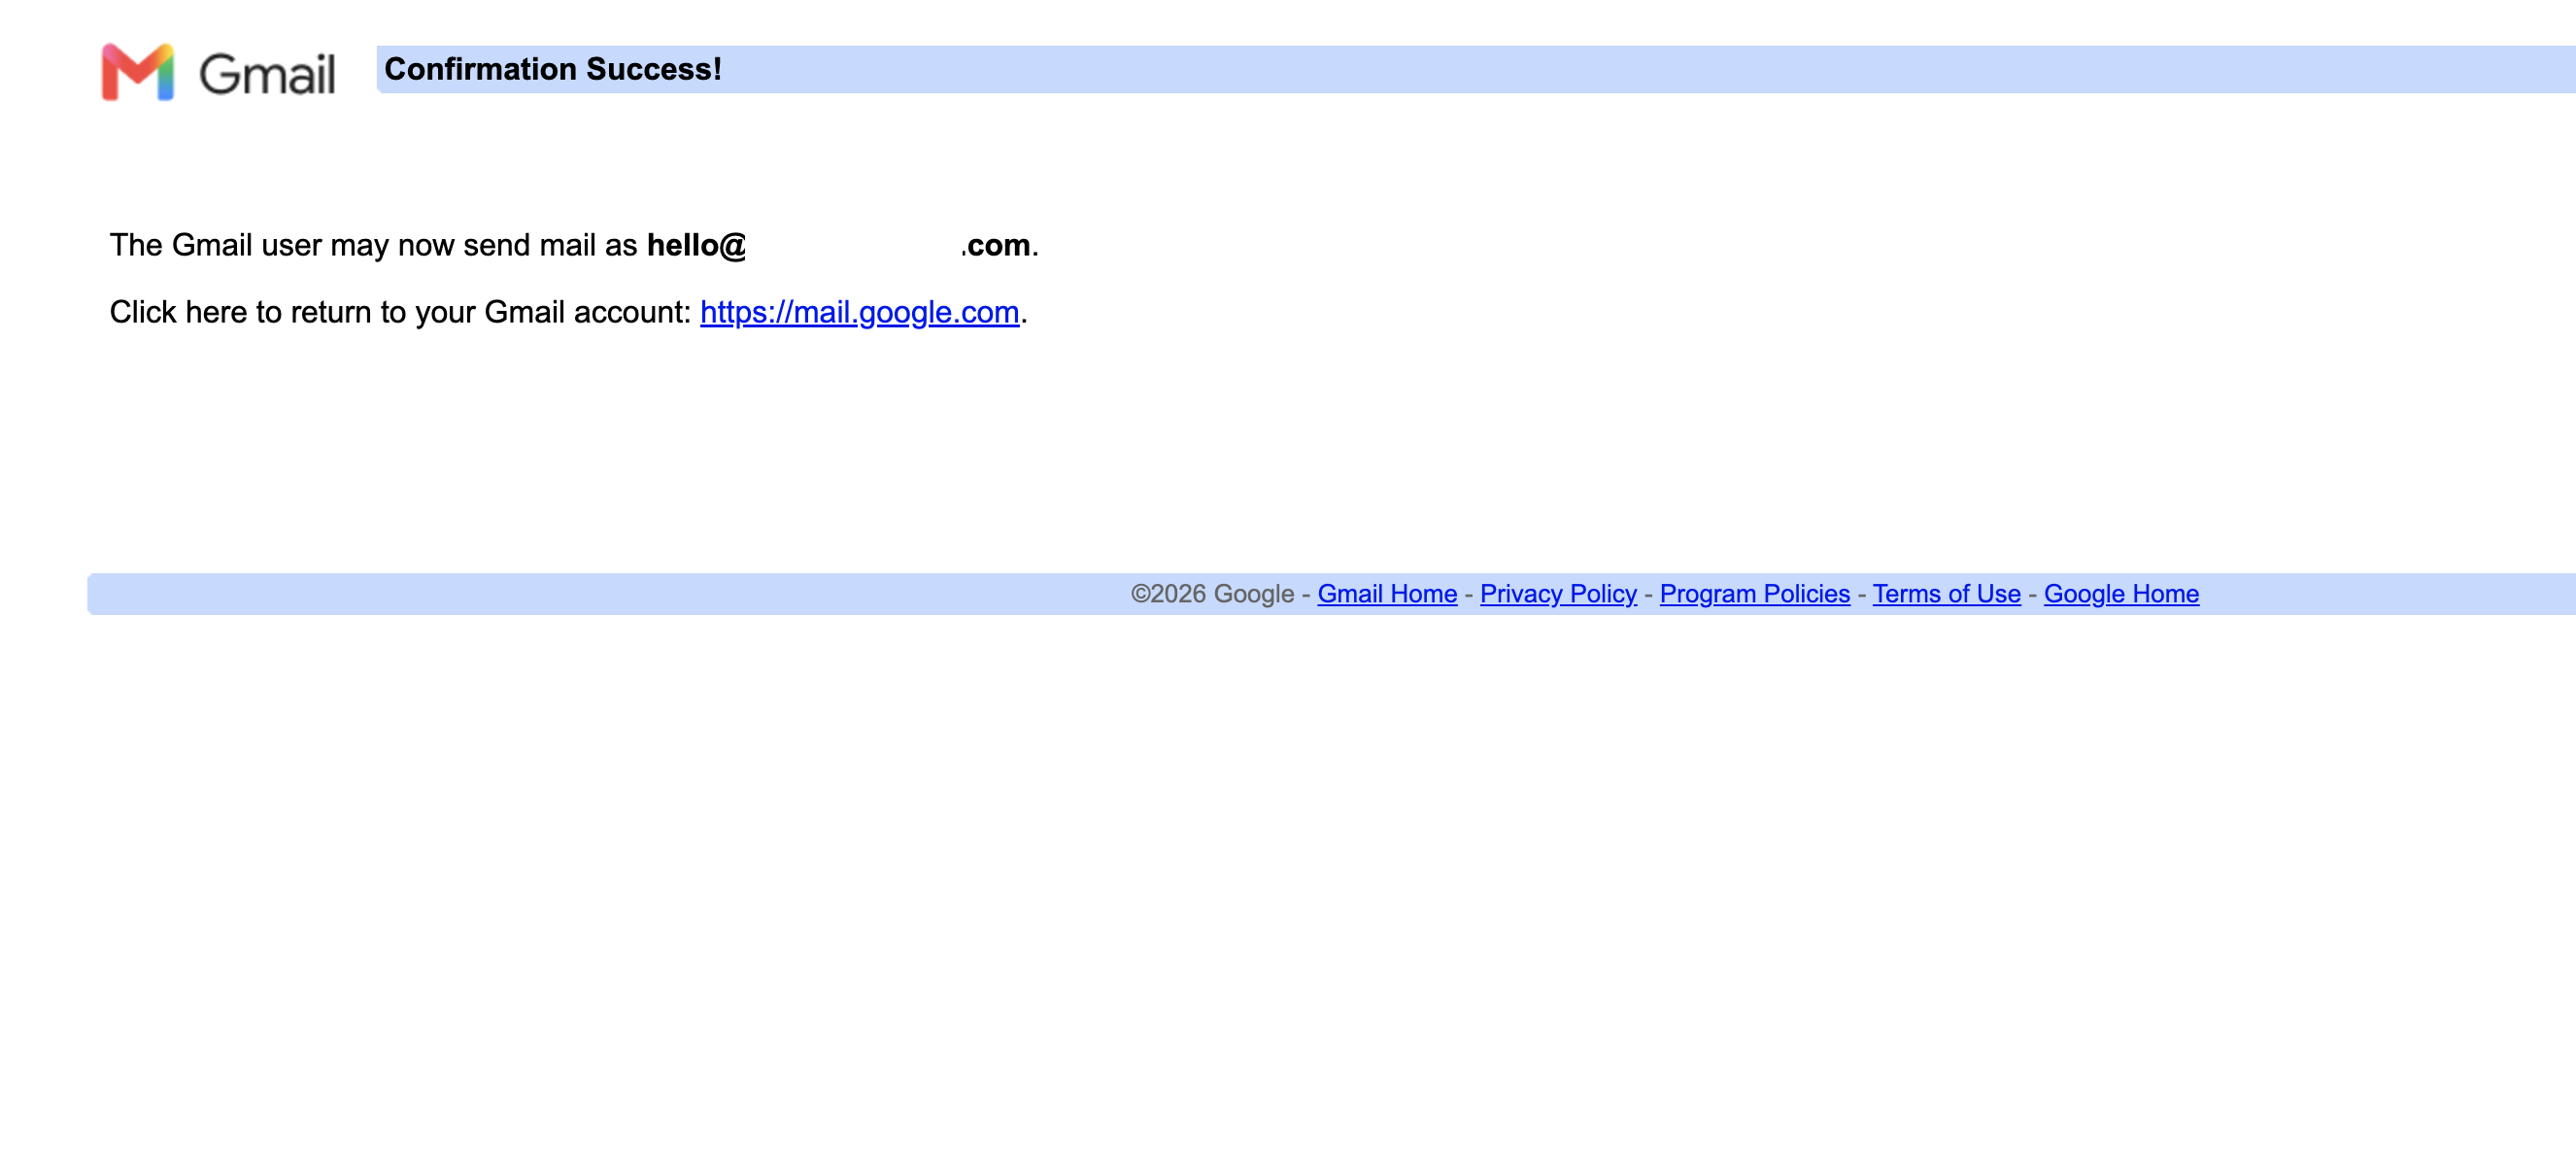
And confirm the verification link.
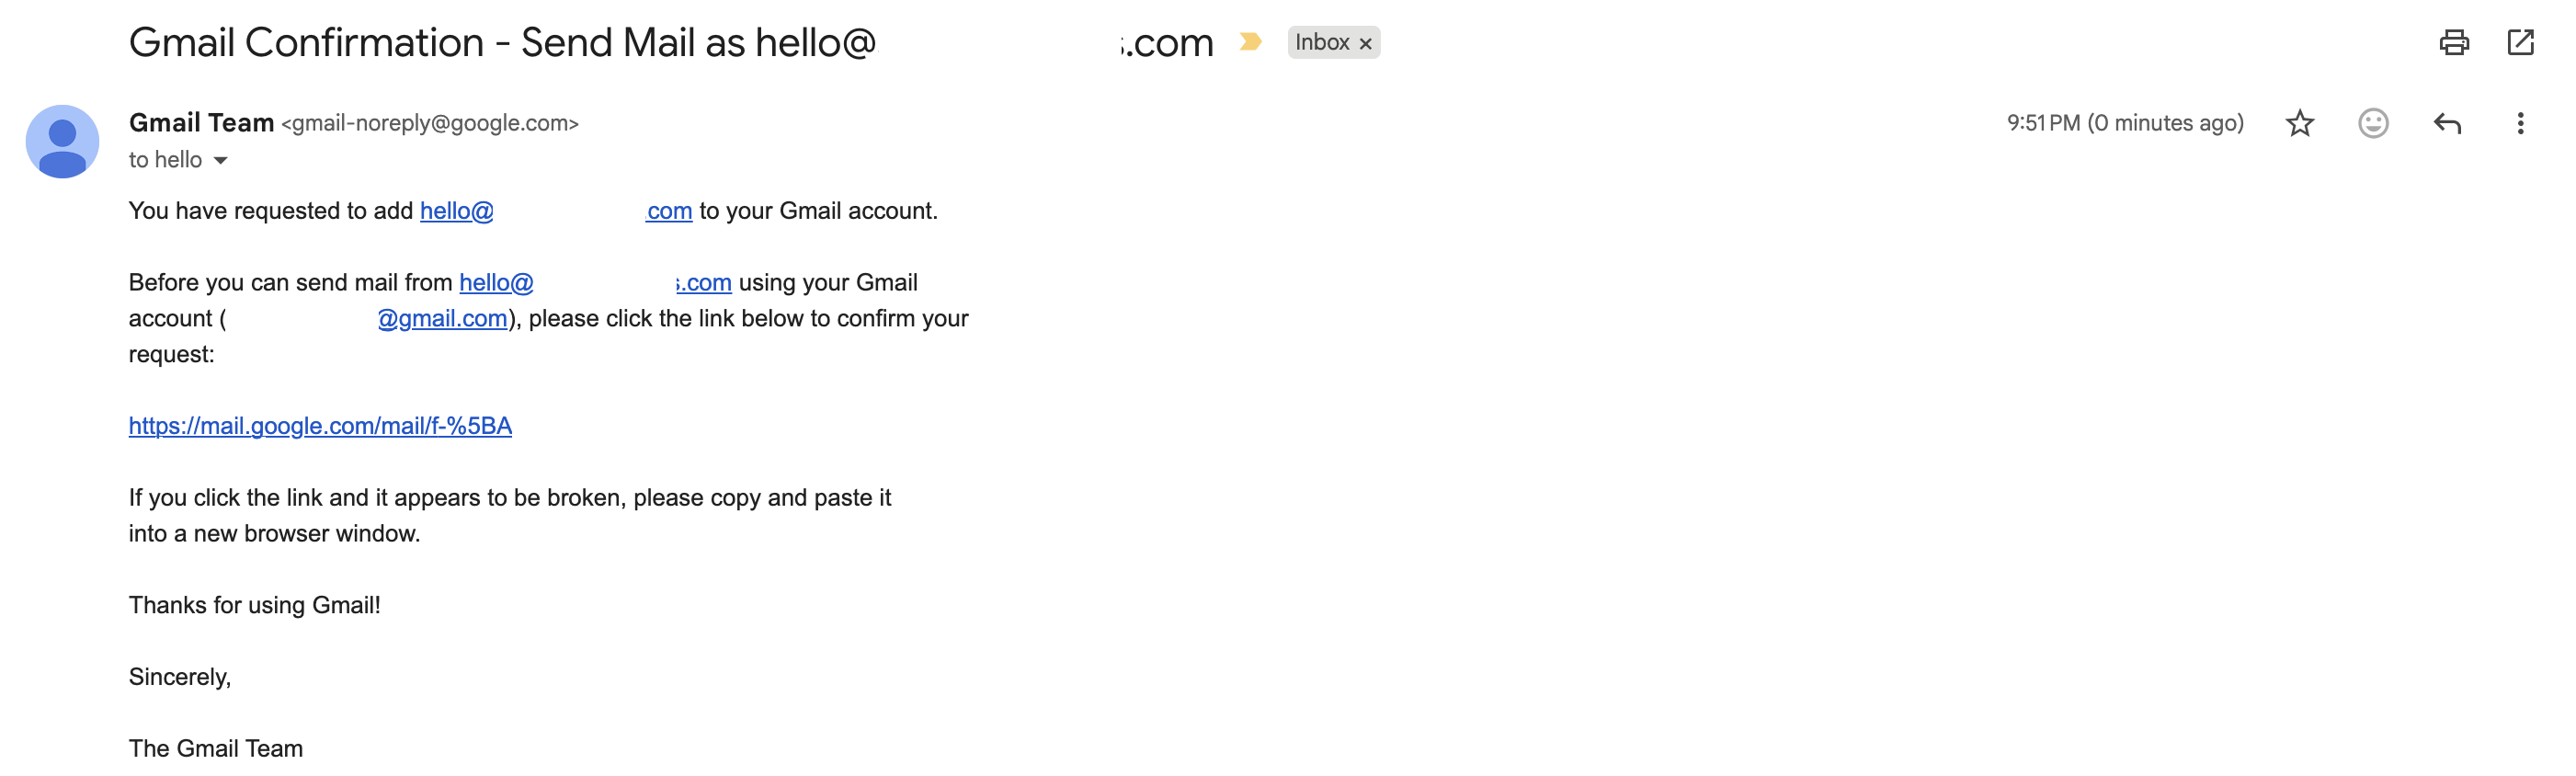
Hit the "Confirm" button.
Step 10: Test Sending Emails
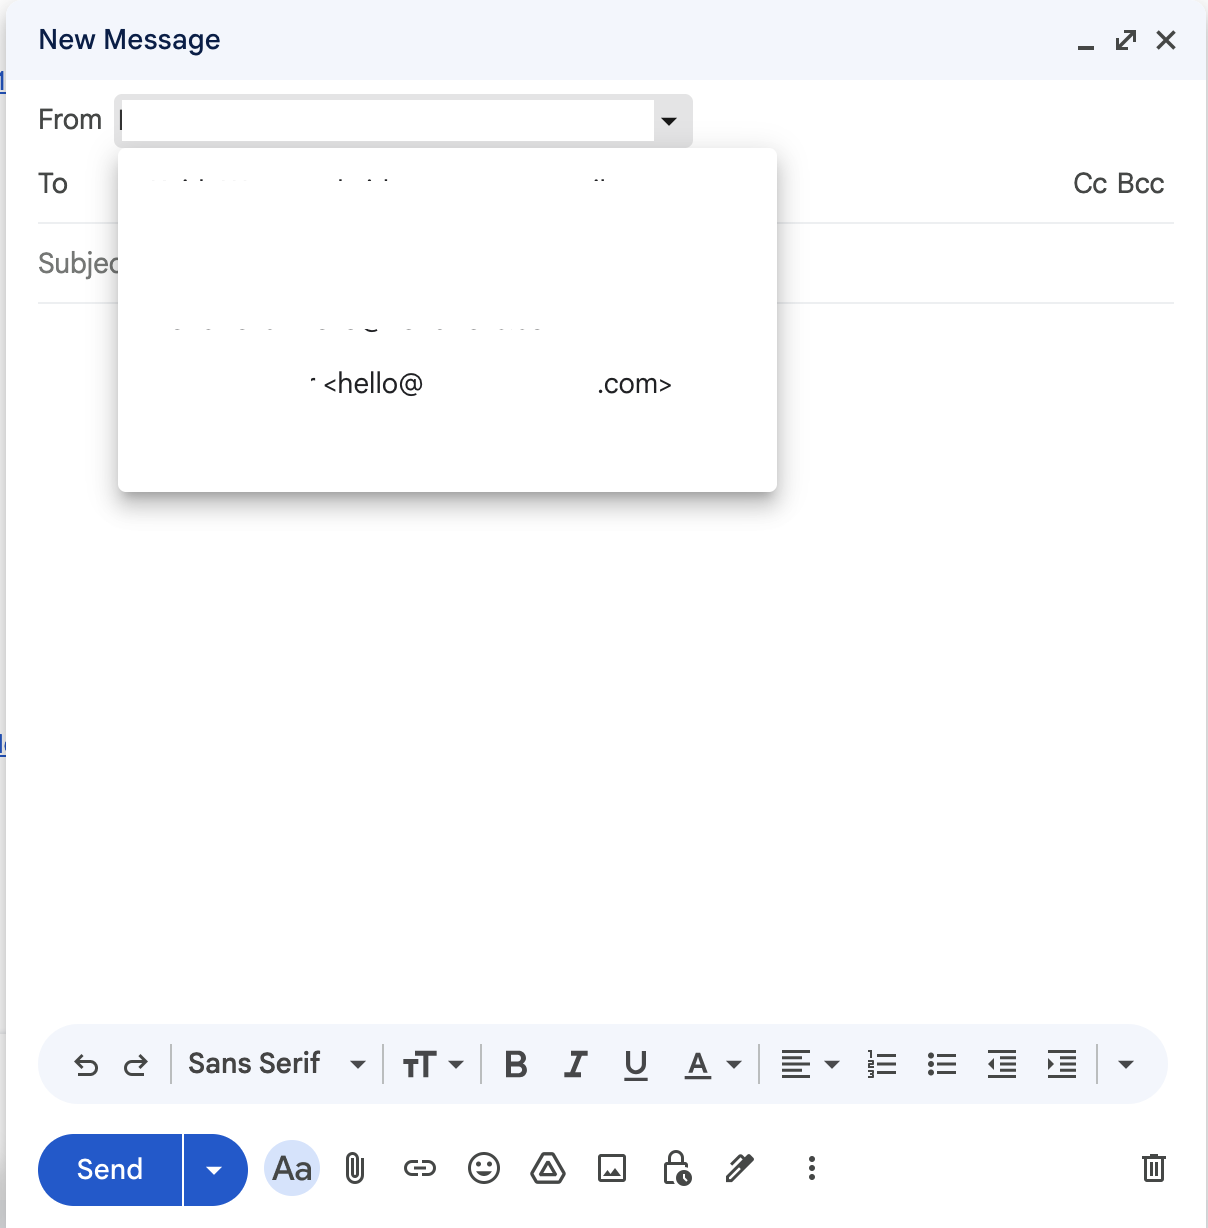
Send an email from your Gmail account to another email address. You should see the email sent from your new domain email address. If you don't see it, check your SMTP settings and make sure they are setup correctly.
Conclusion
You have successfully set up an email with your domain for free. You can now send and receive emails using your custom domain email address.
If you want to sync between AliExpress and your store, we can help! We help automate syncing between your store and AliExpress. You copy paste a product link from AliExpress and we will automatically import the product, sync inventory, orders, fulfillment, and tracking numbers. This is a great way to get started with your store and save time.